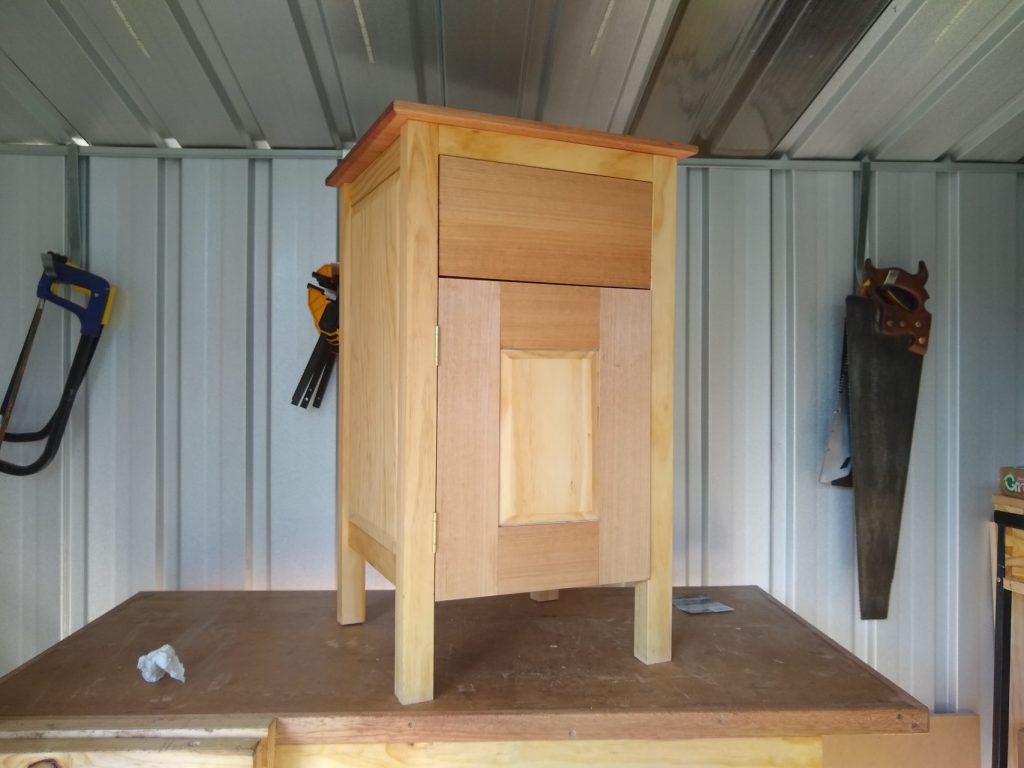
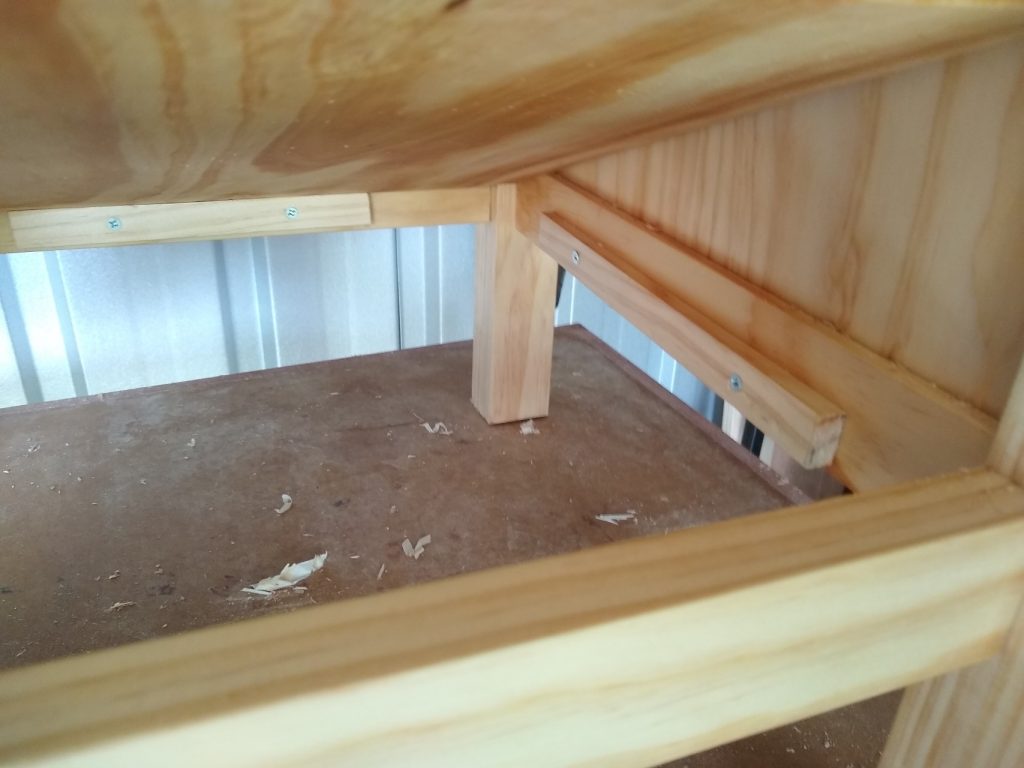
This cabinet was designed for the living room to hold our modem/router and NAS on the lower shelf, covered by a door and with a drawer above. The back is open to allow cables to enter and for airflow, but apart from this slighly unsual feature it could be used as a general side cabinet or bedside table.
I’ve been dabbling in woodworking over the last few months and designed this cabinet to practice and test out some of the skills. It has frame and panel sides, with mortise and tenon joints throughout. The drawer has blind dovetails on the front and a dado on the back (my first attempt at both of these joints). The main body is made of pine (to keep costs down) with tasmanian oak for the top, drawer front and the door frame (another first, working with a hardwood).
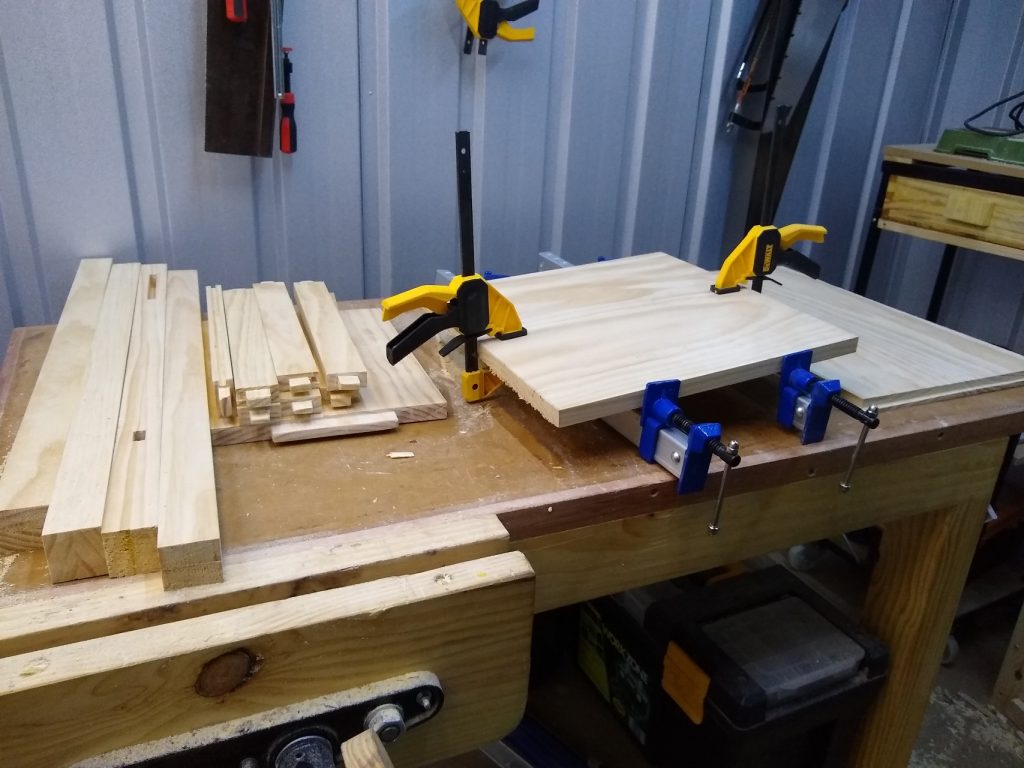
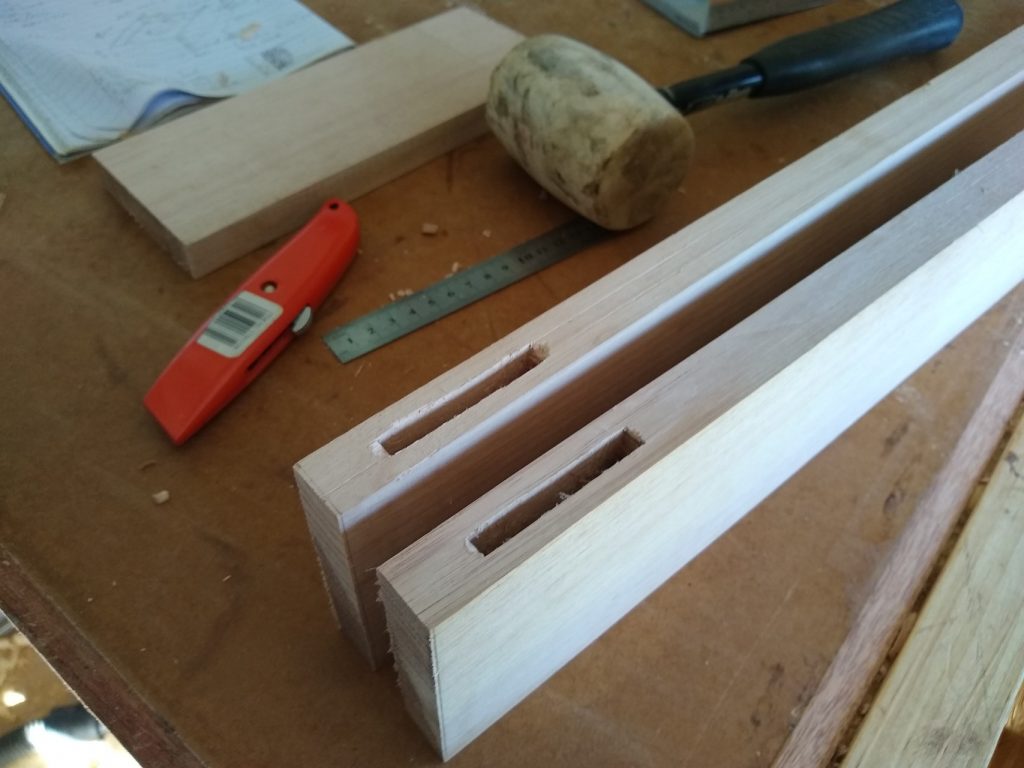
The whole project was done with hand tools only: a no. 4 plane, a few chisels, a 26” hand saw and a small gents saw.
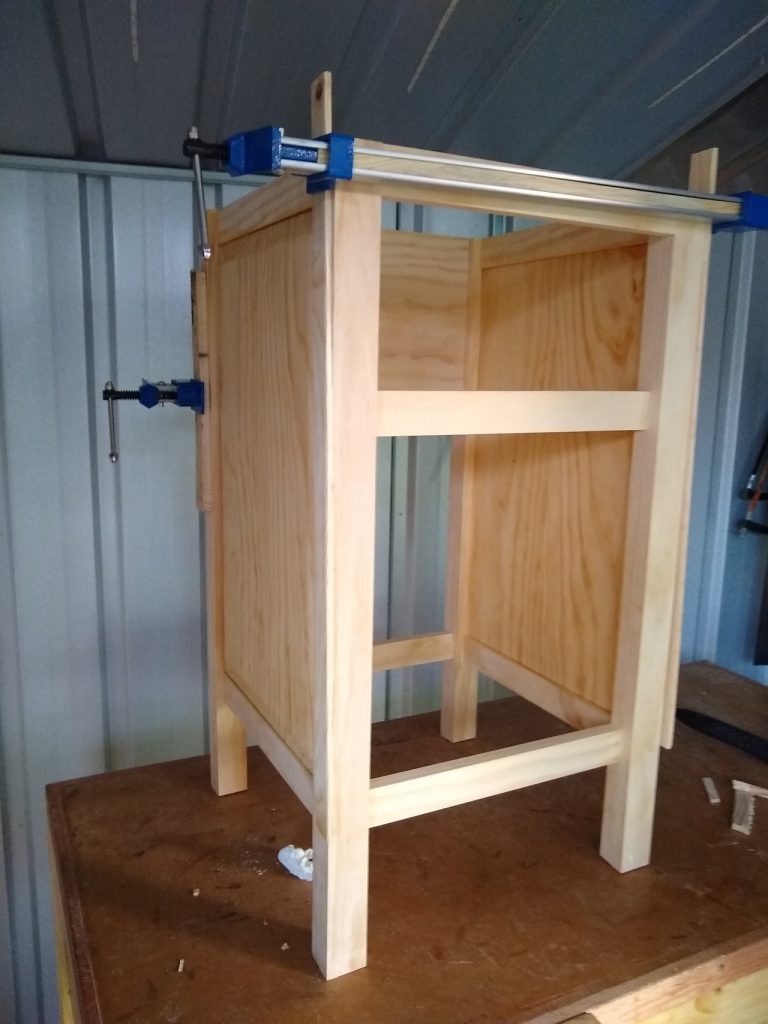
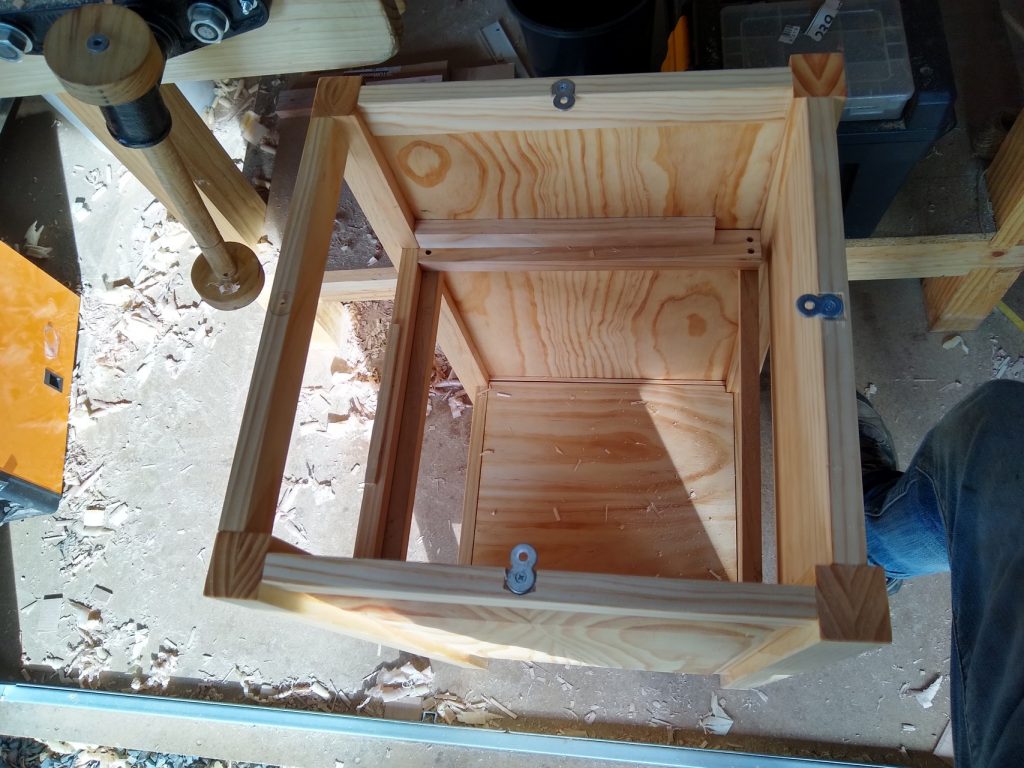
Building the frame
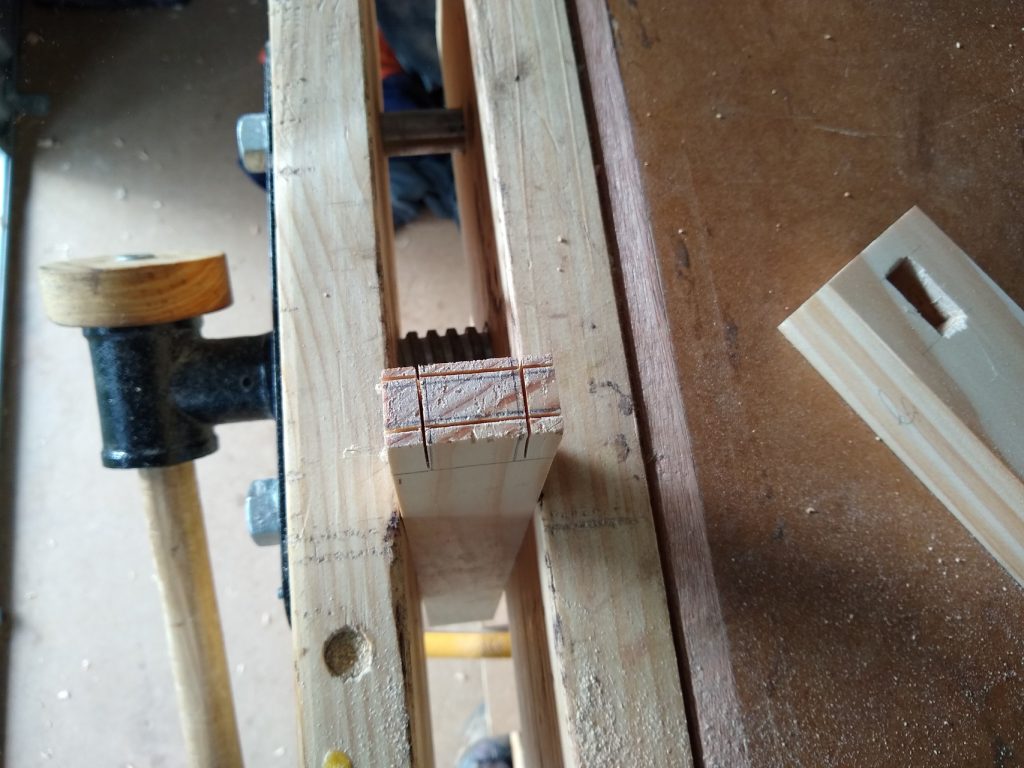
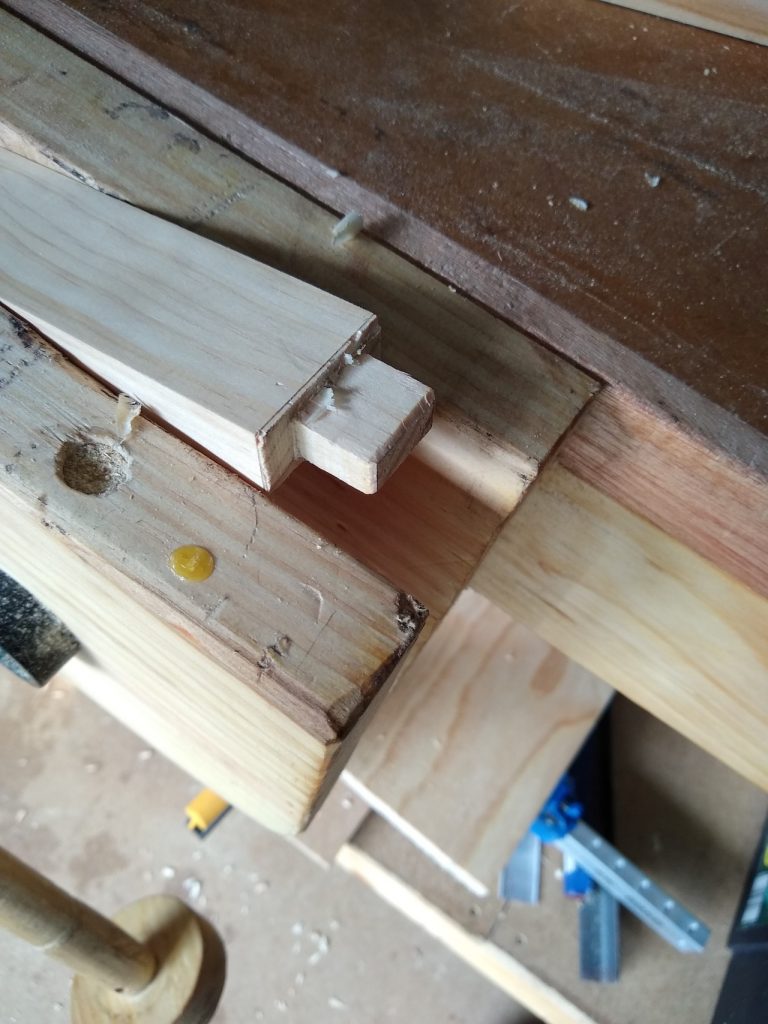
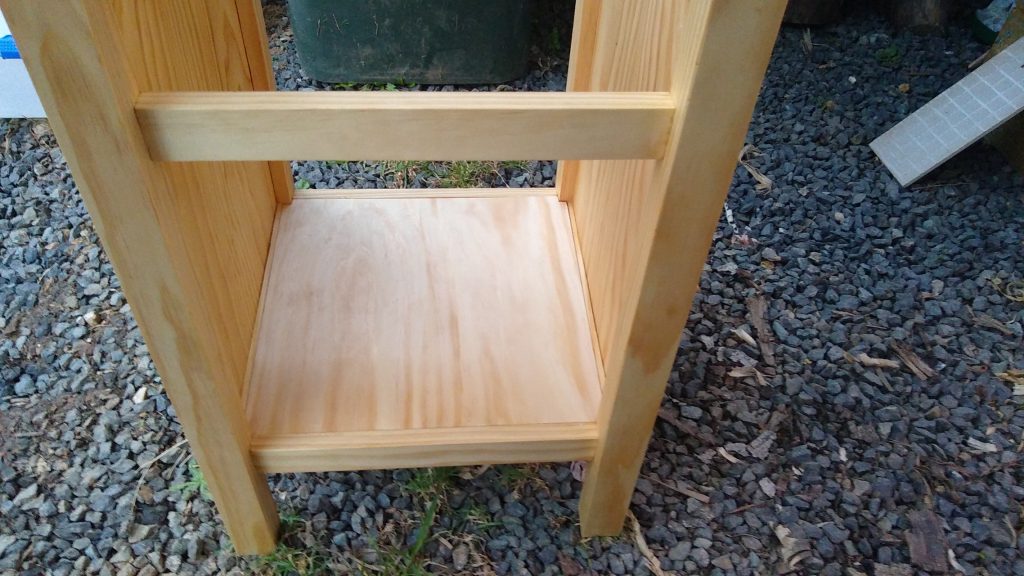
The body is composed of 2 frame and panel pieces on either side, with simple rails running across the front and the back to tie them together. Mortise and tenon joints are used throughout, and the panels in the sides are tongue and grooved and floating in the side frames. The base of the shelf is made of solid pine laminated into a board. The legs are 2 laminated 19mm thick pieces to be roughly 38x38mm.


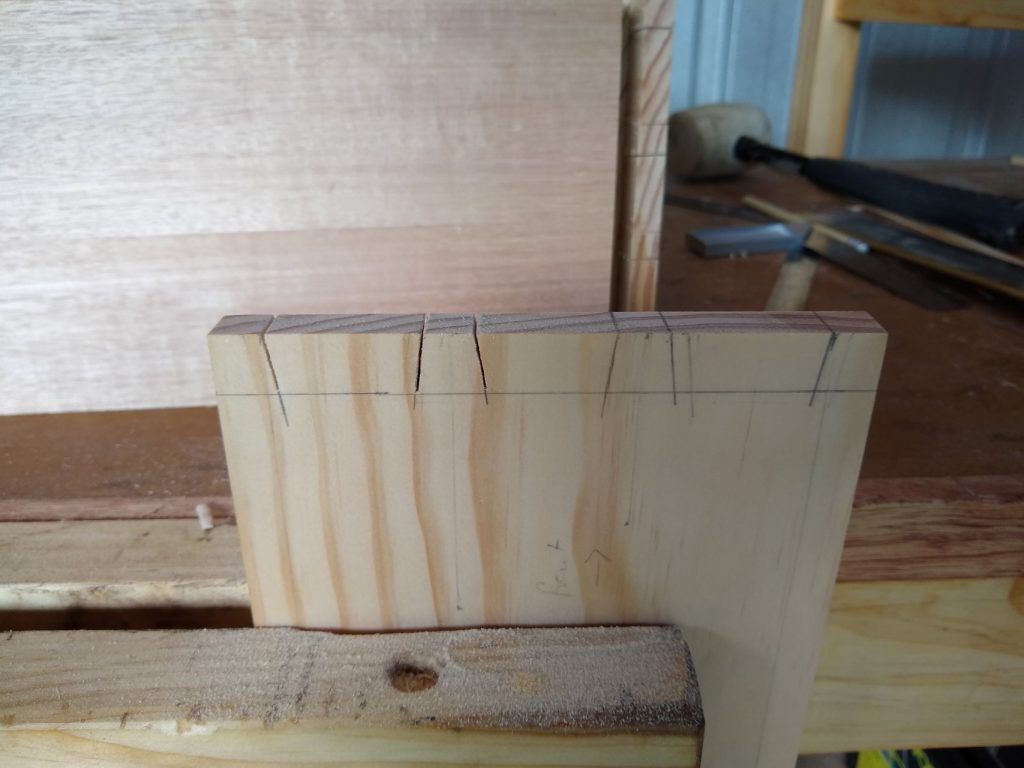
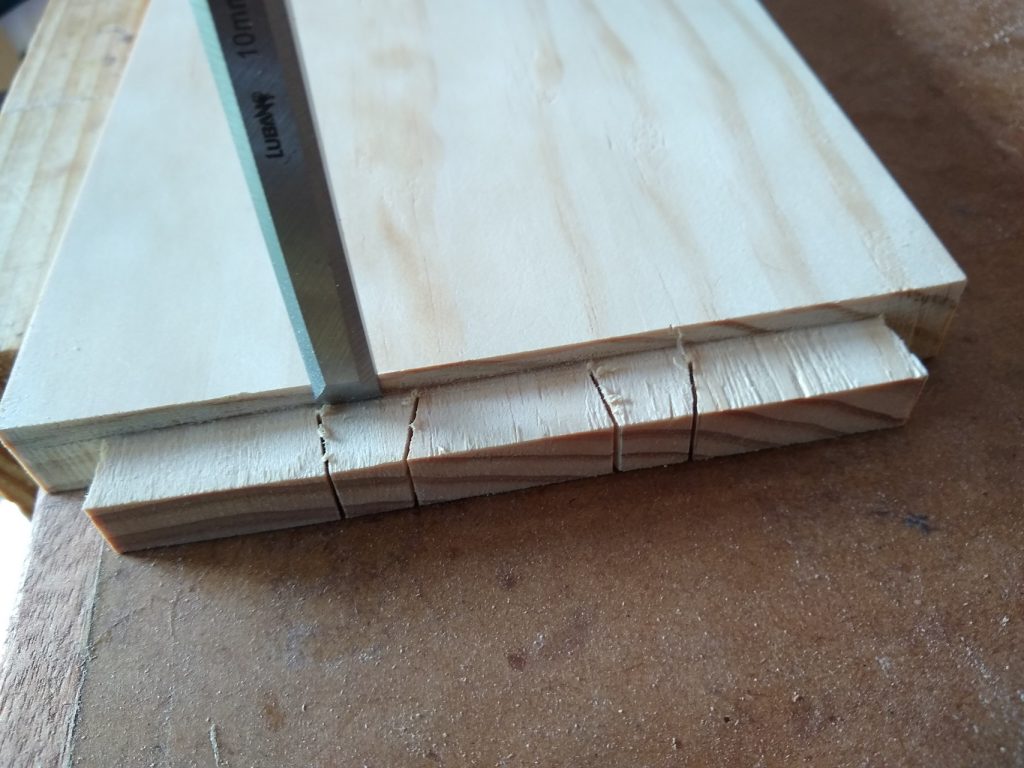
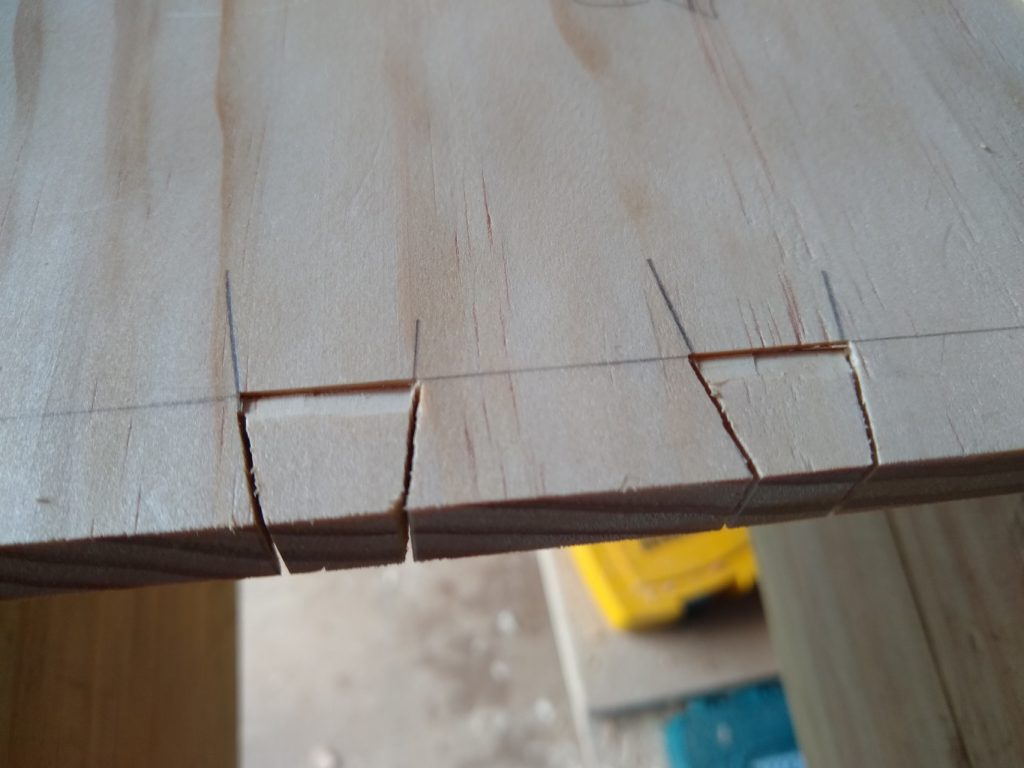
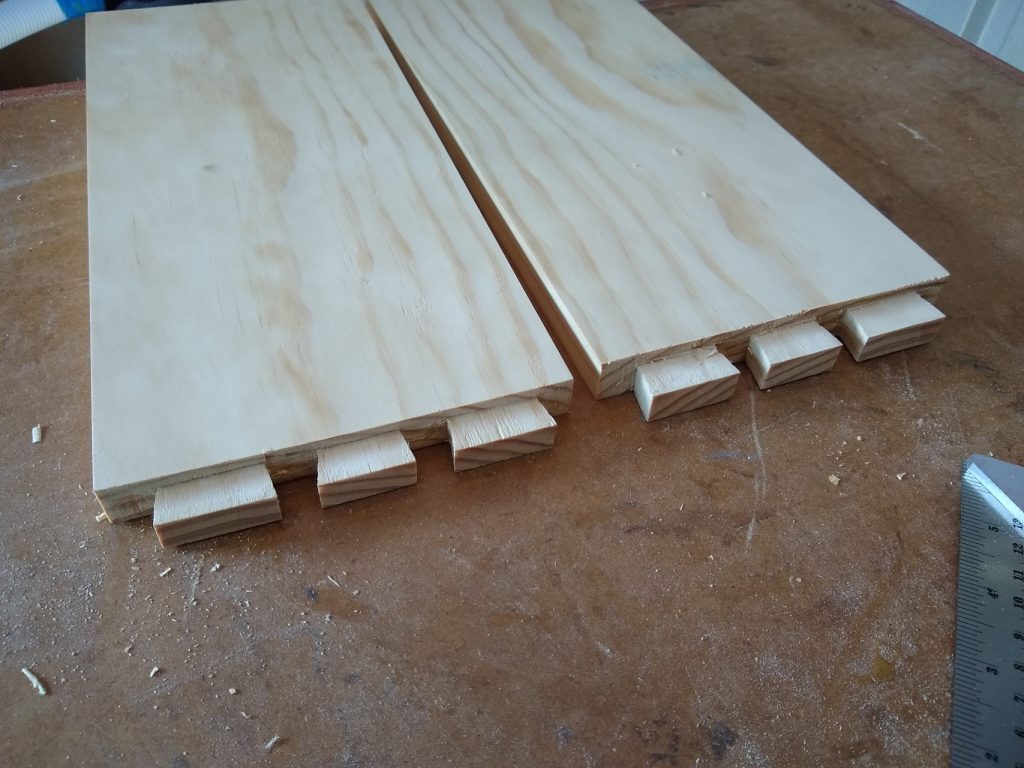
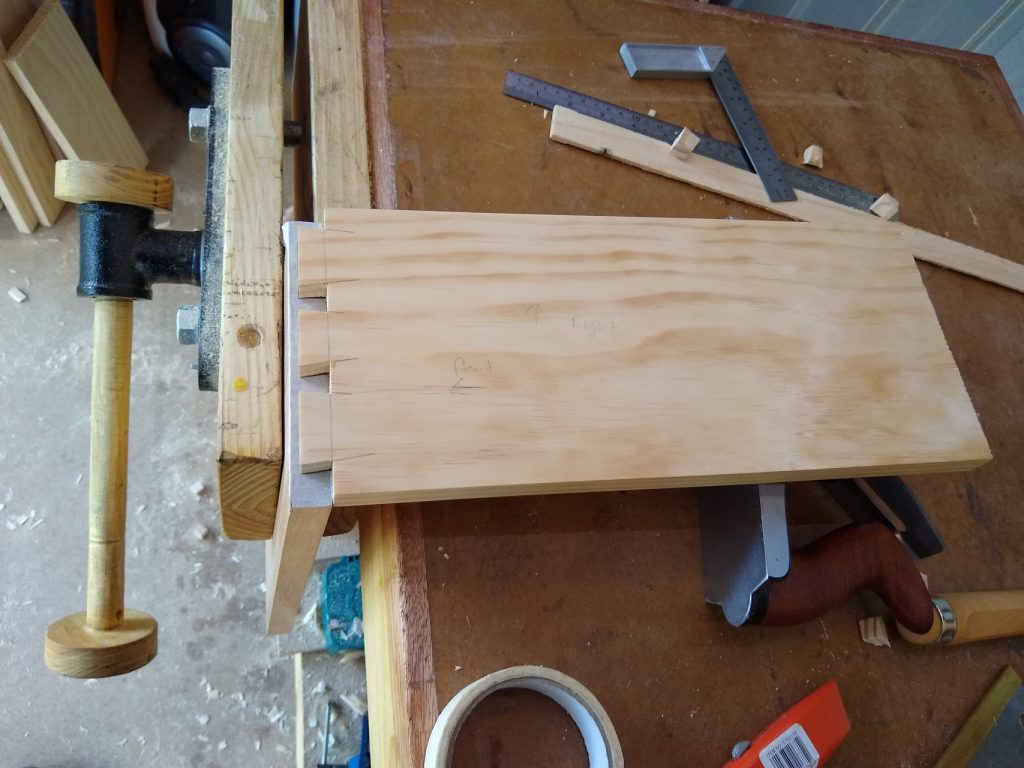
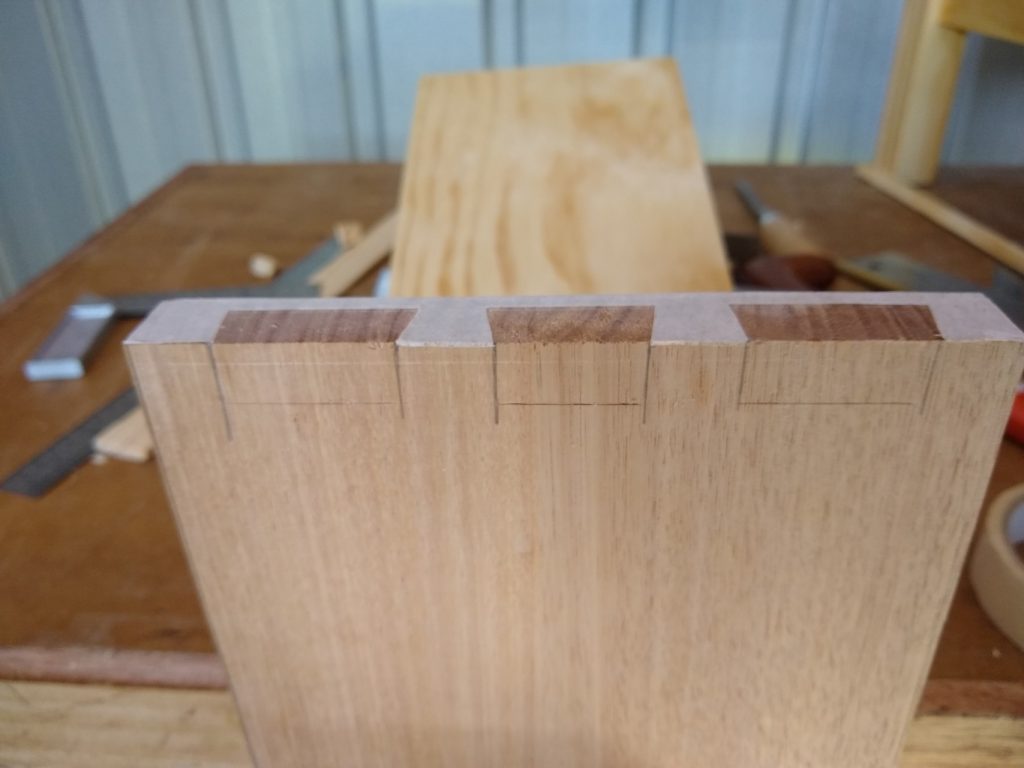
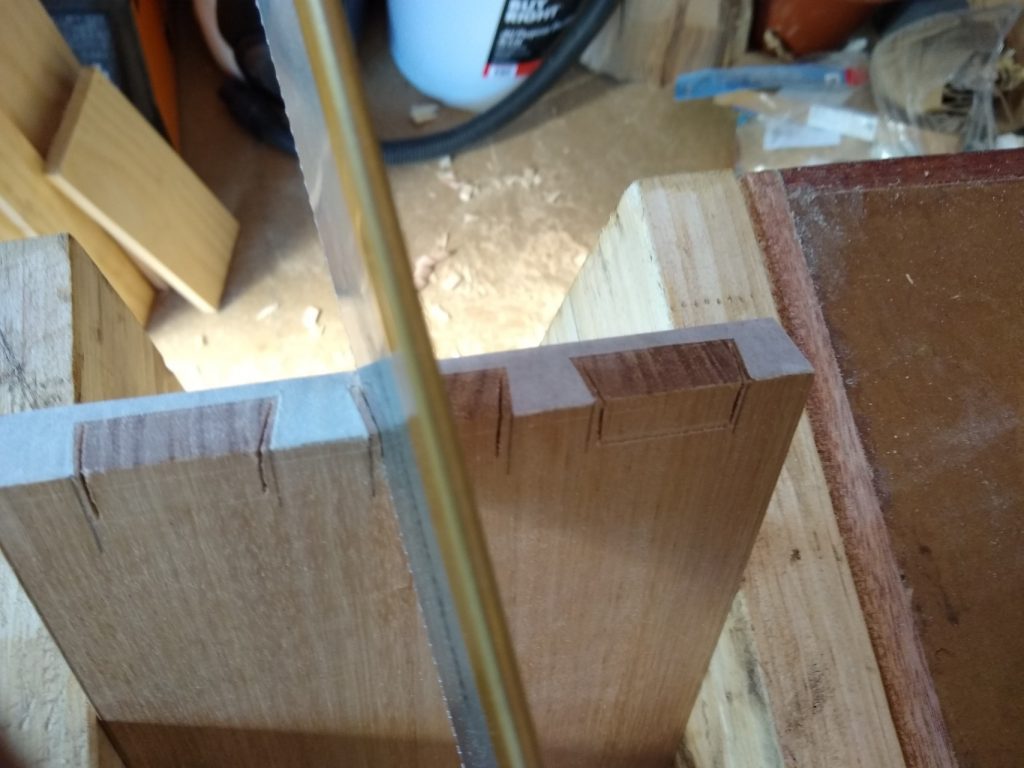
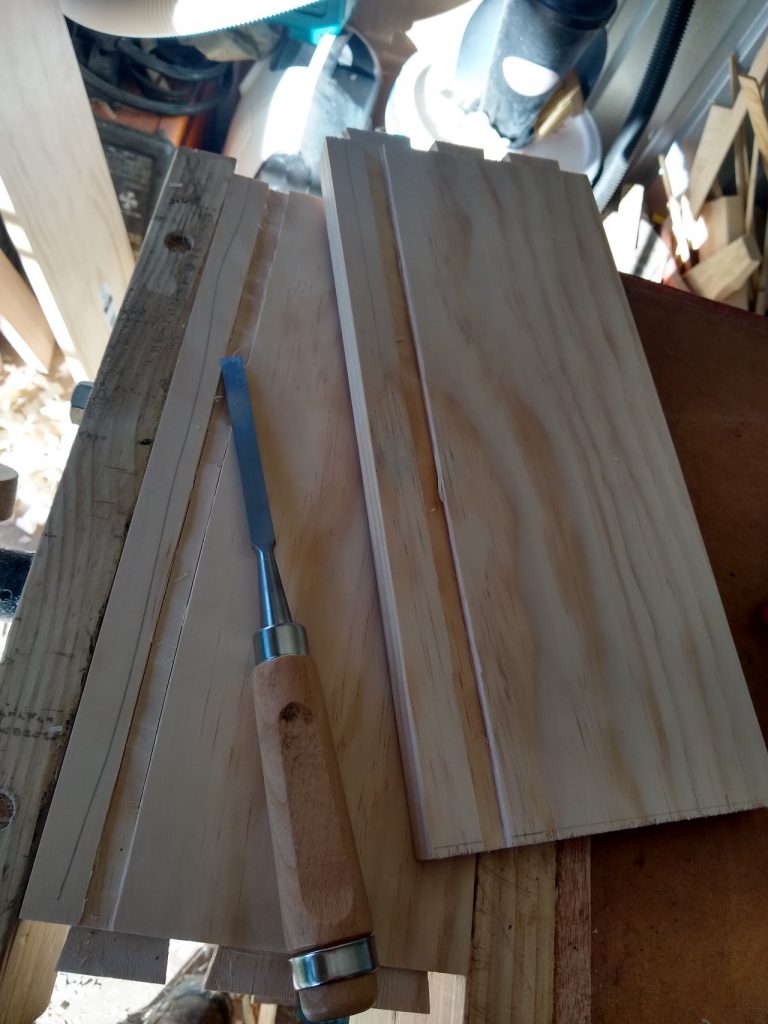
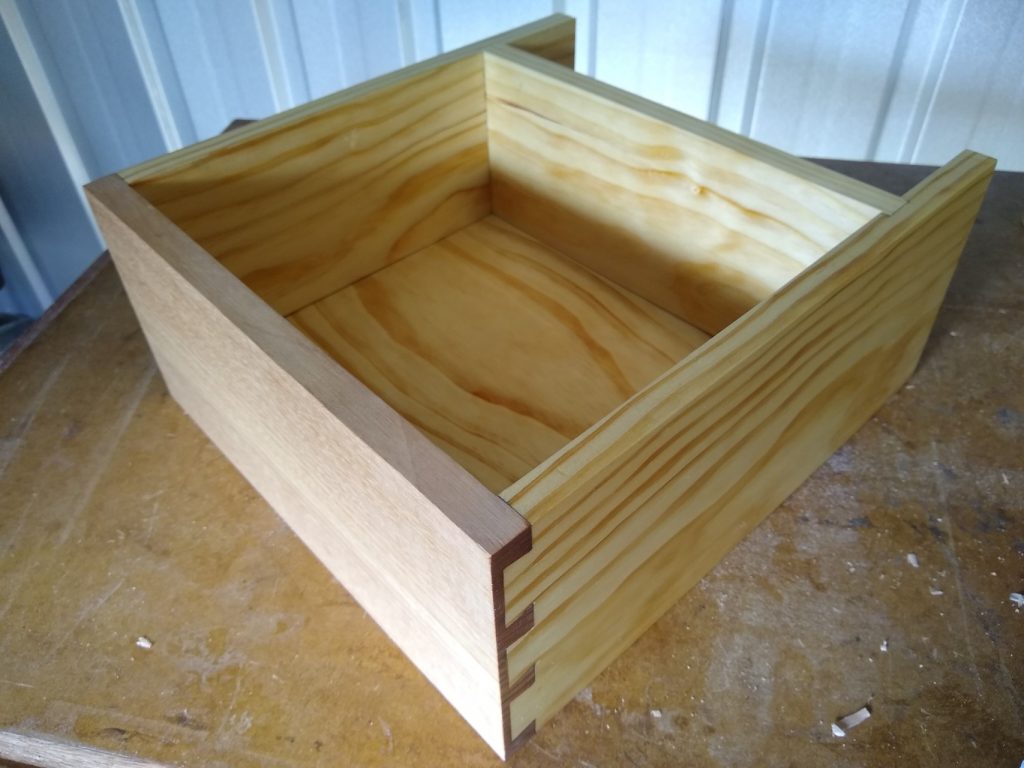
Building the drawer
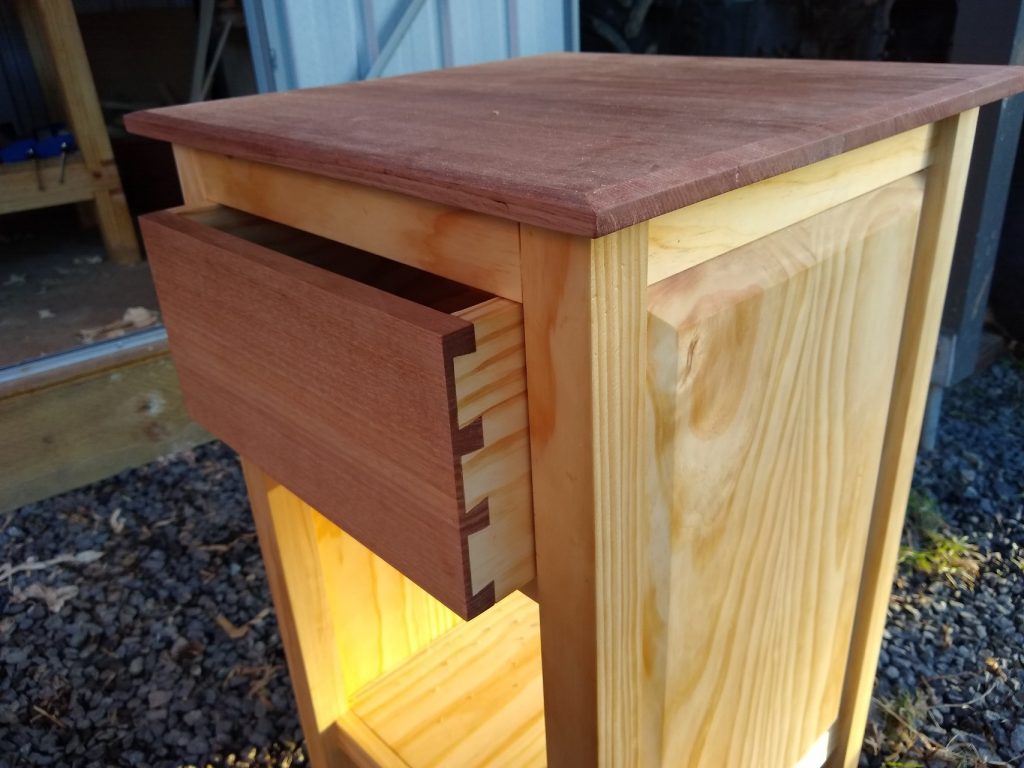
The drawer is flush mounted with the front of the frame, with half-blind dovetails on the front, and a dado joint on the back with a solid wood base. The front is made of tasmanian oak, and the rest is pine.
Sides

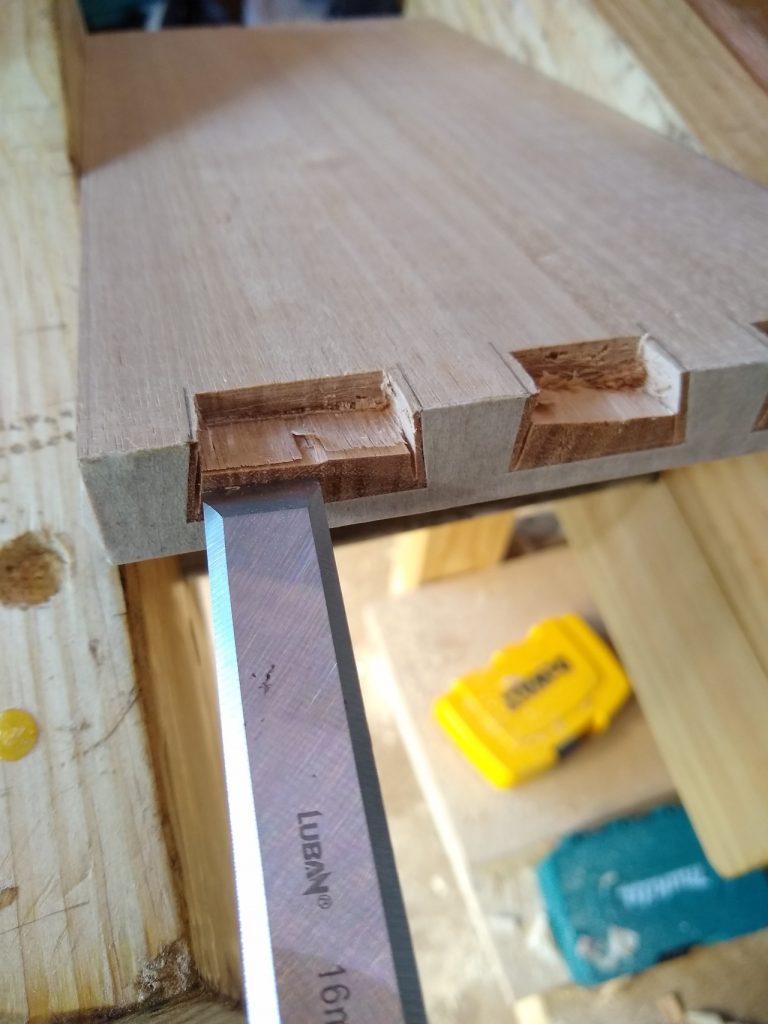
Front

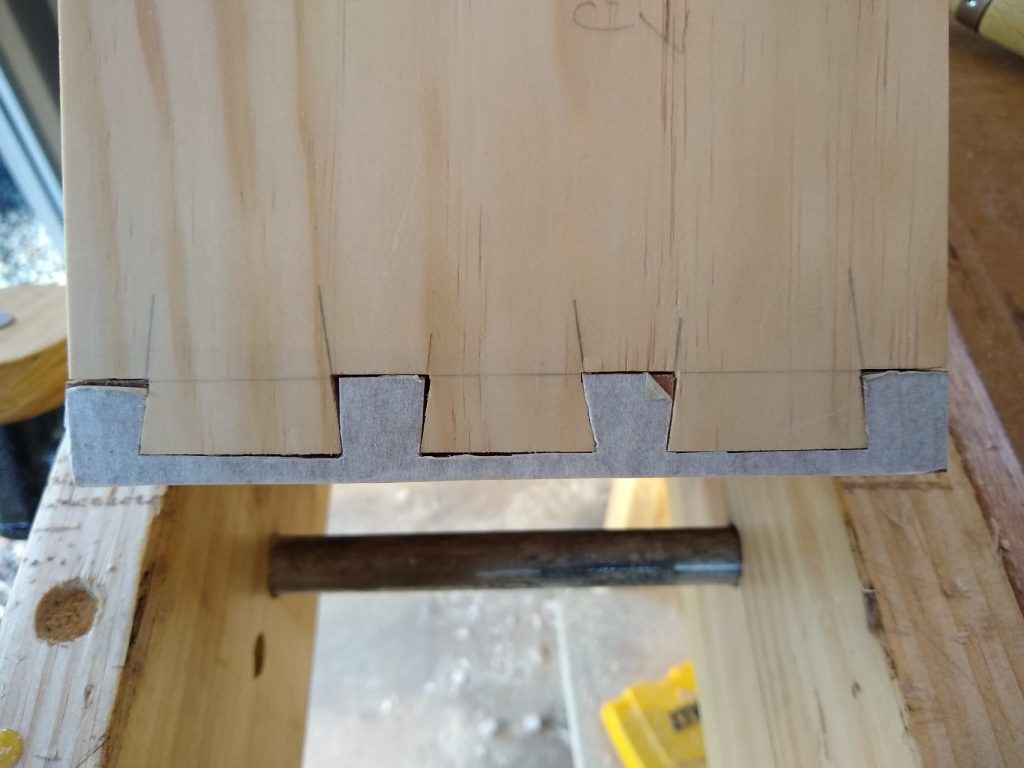
Back

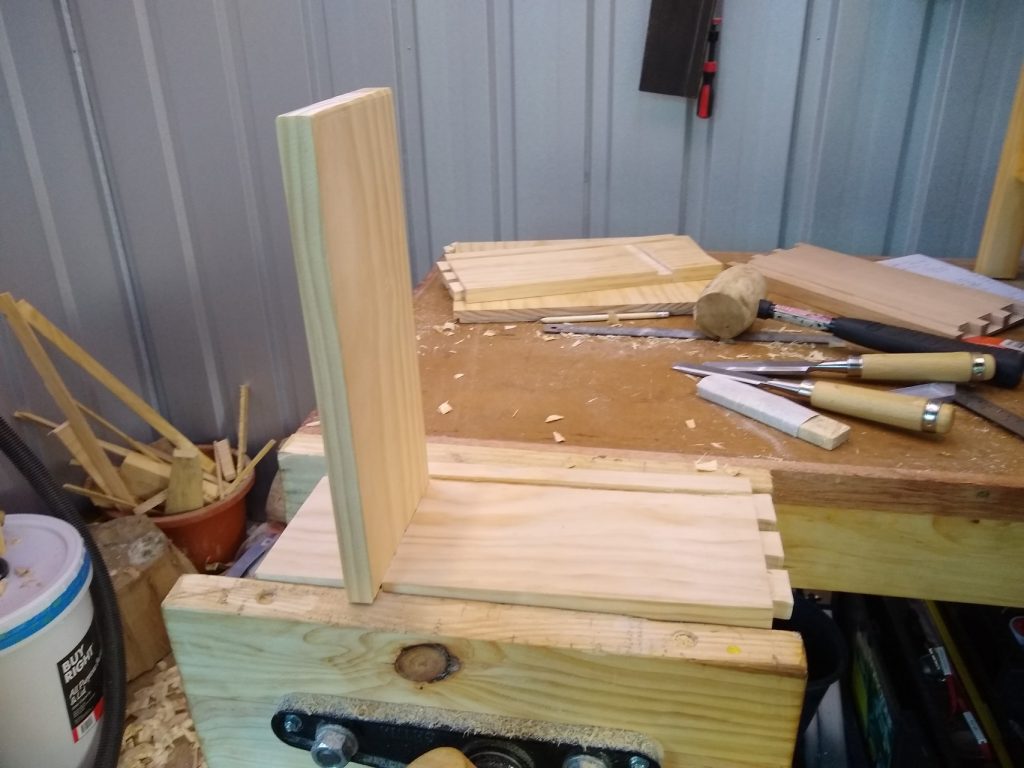
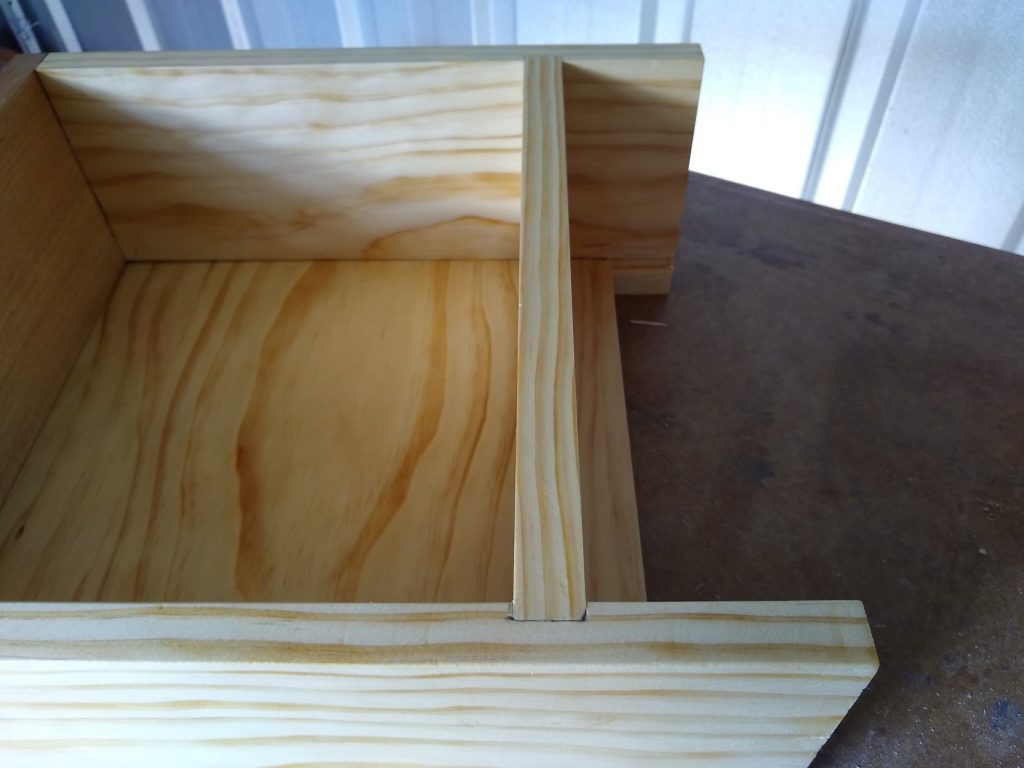
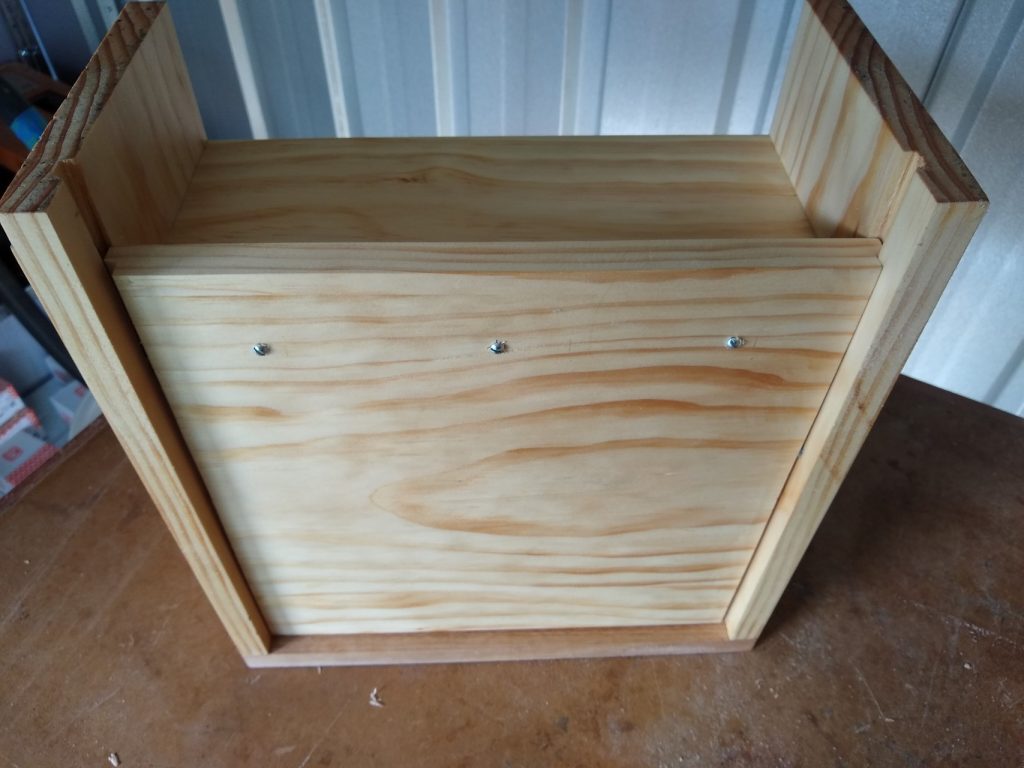
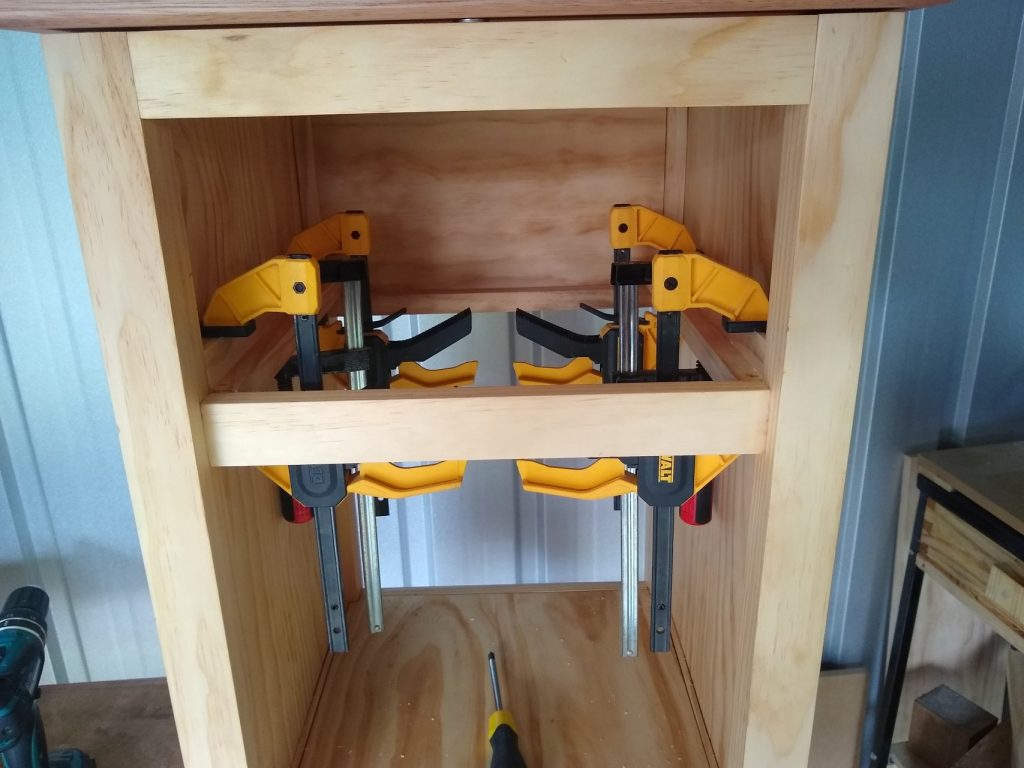
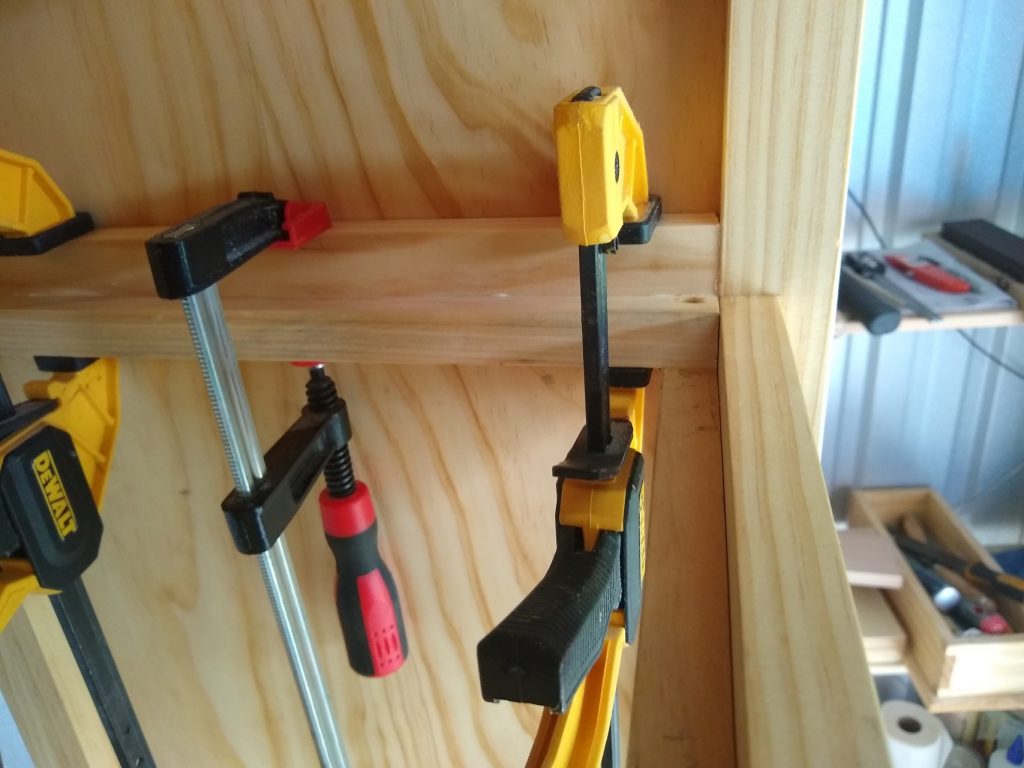
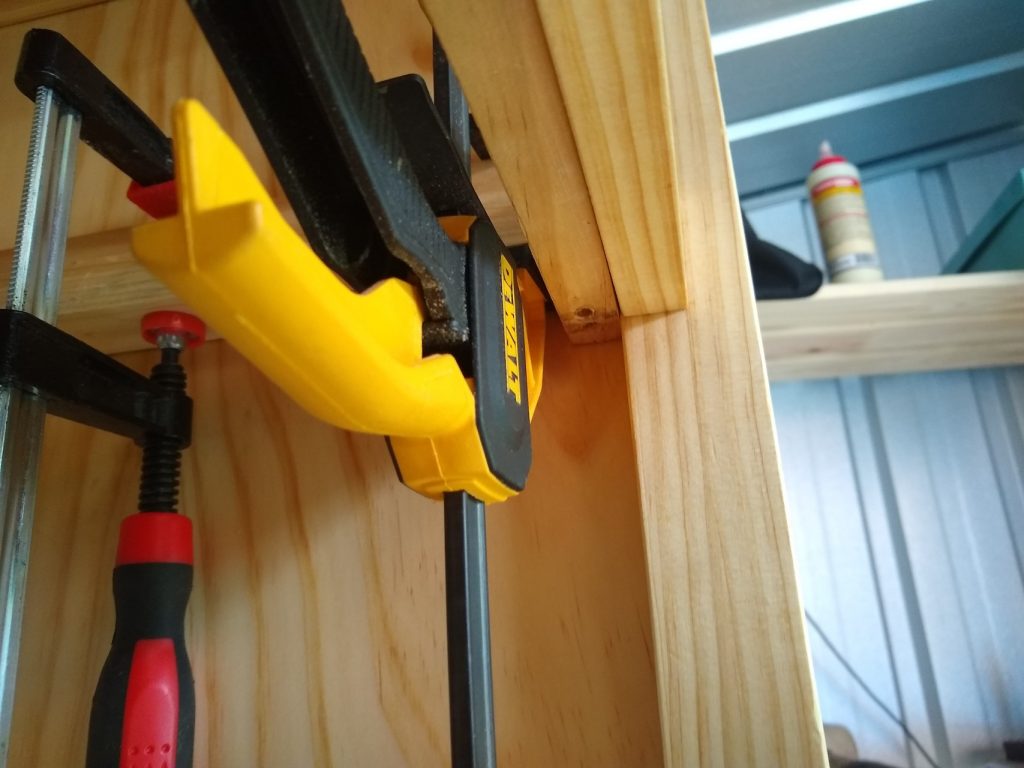
Fitting the drawer
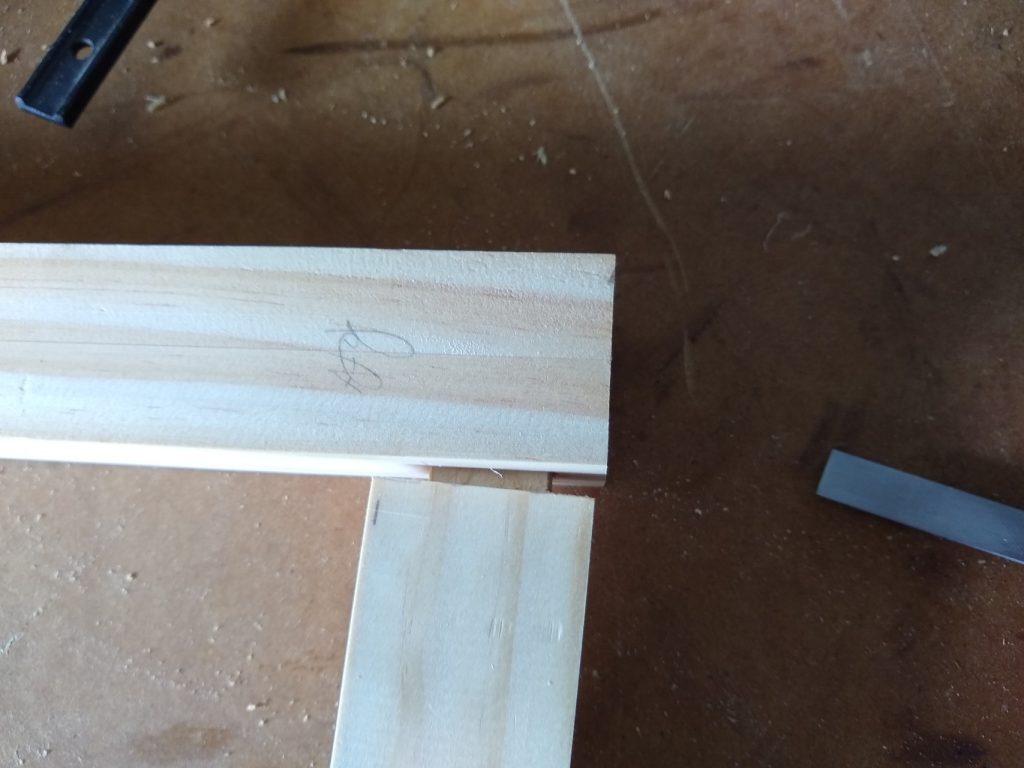
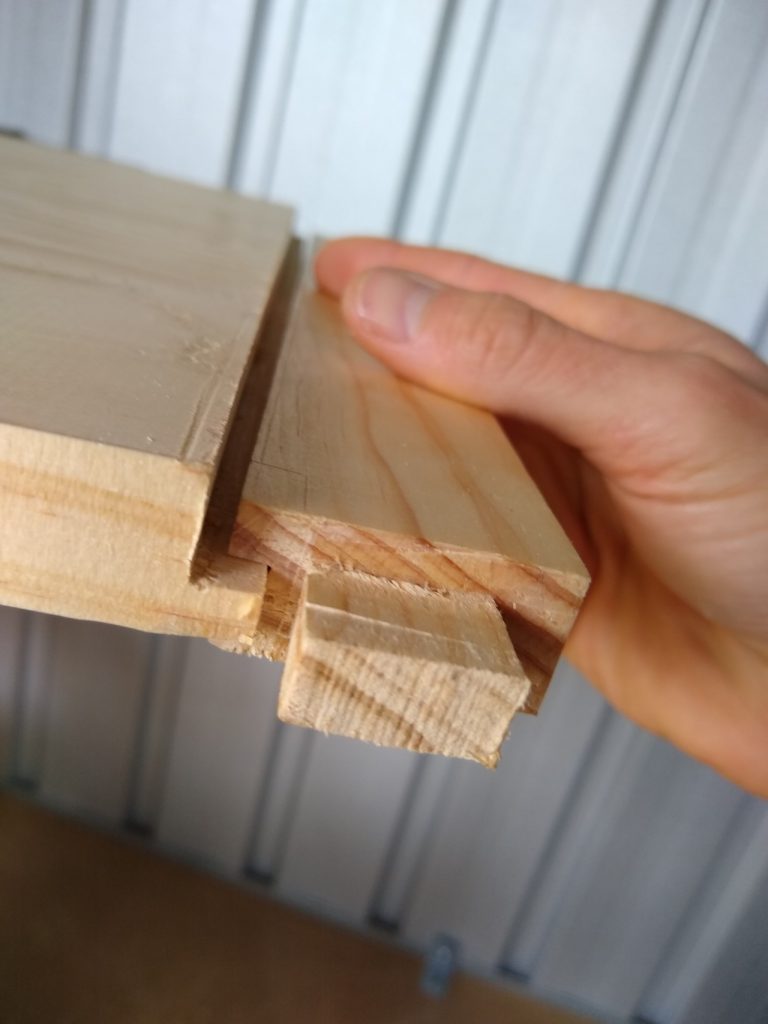
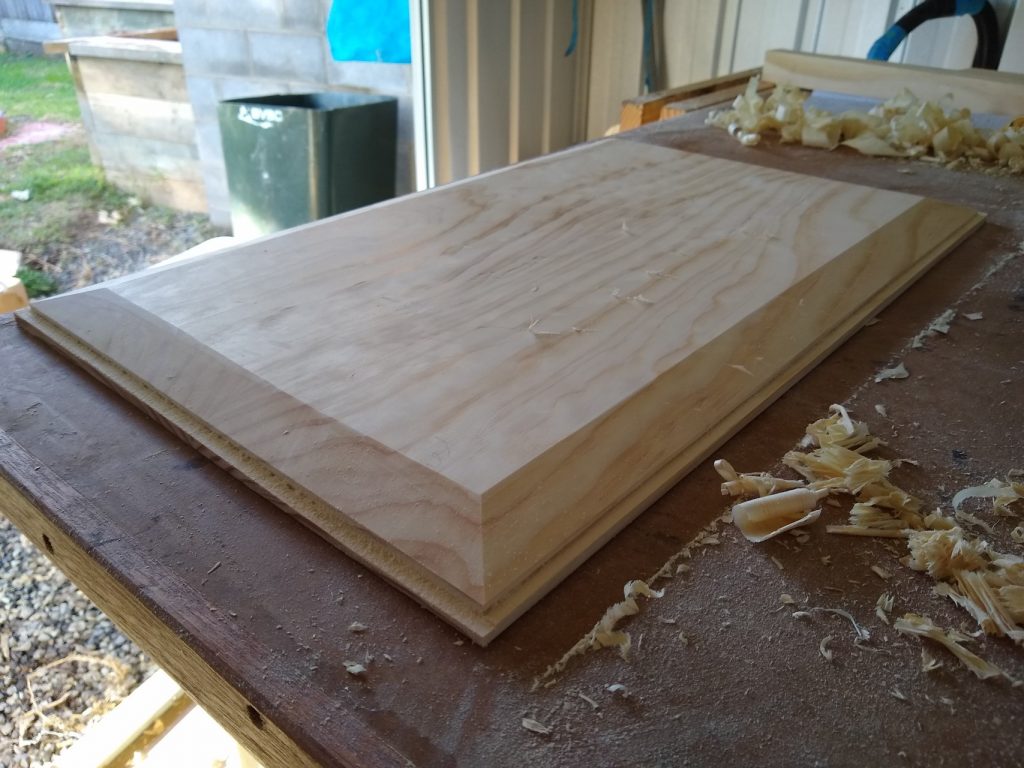
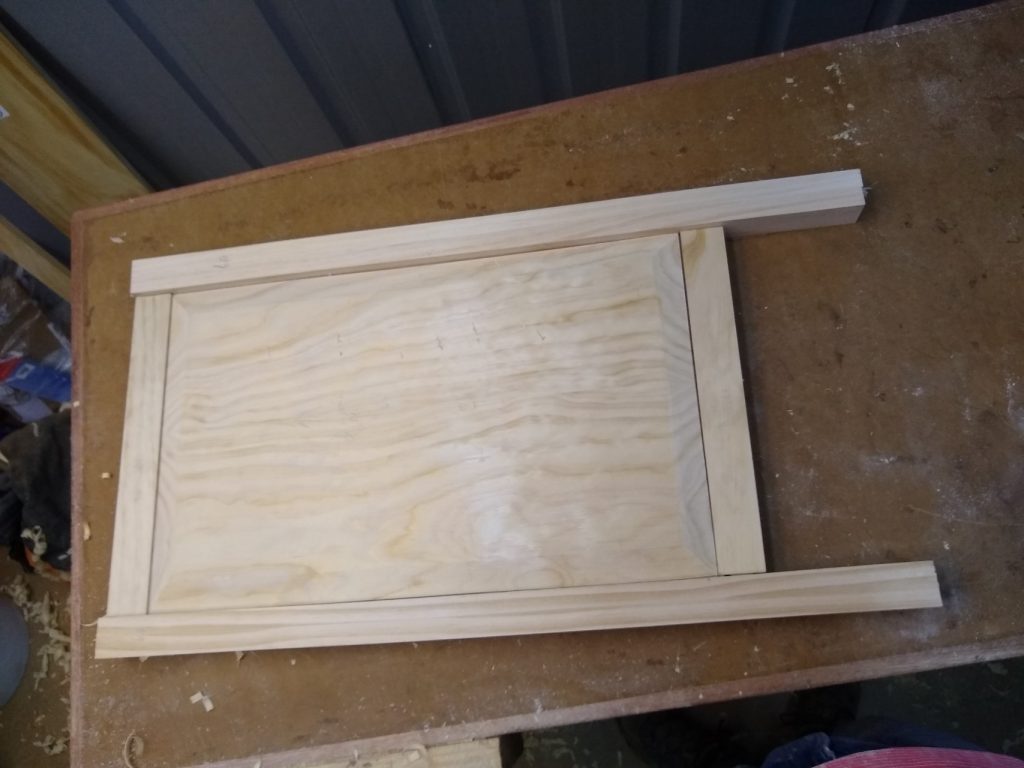
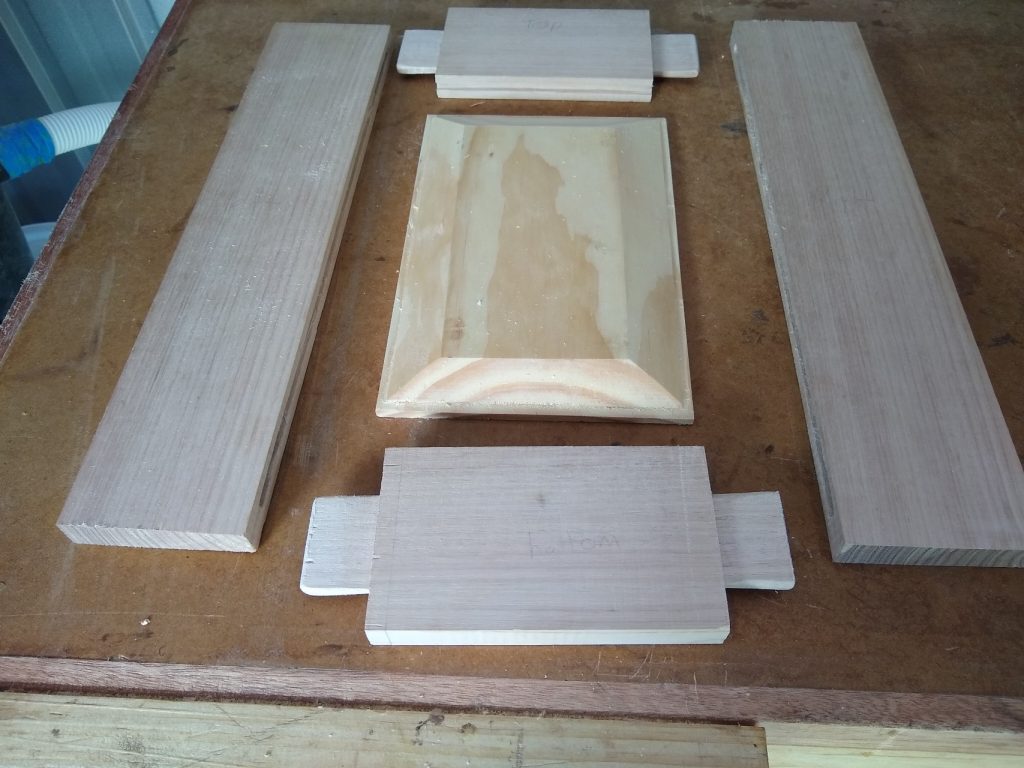
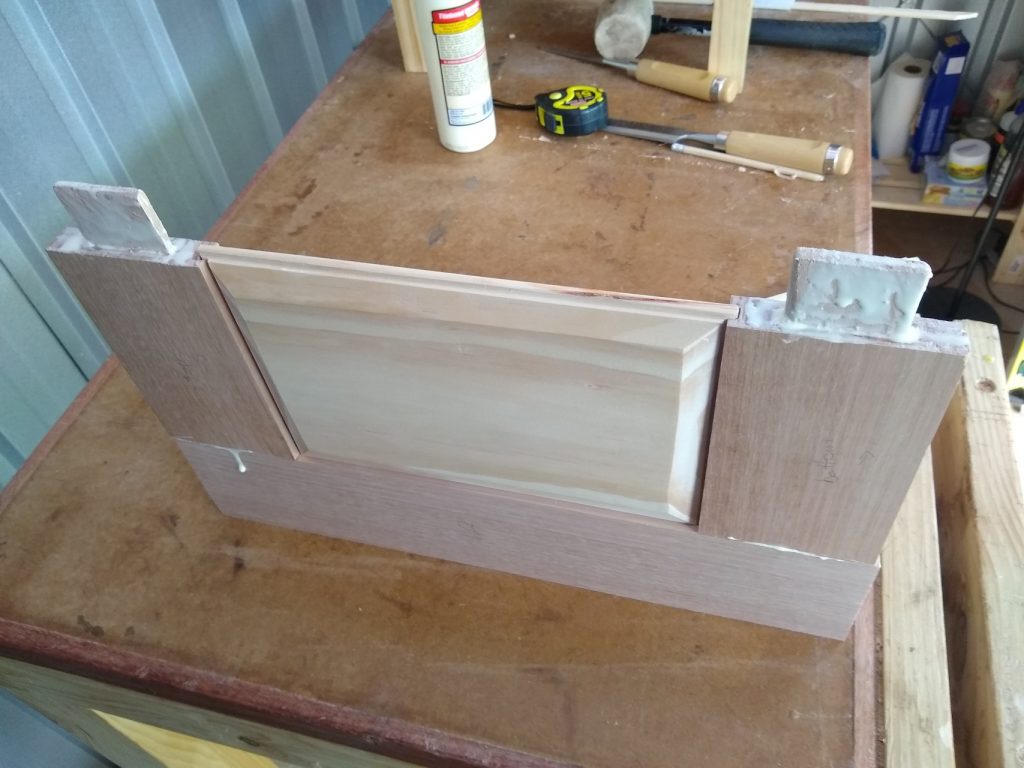
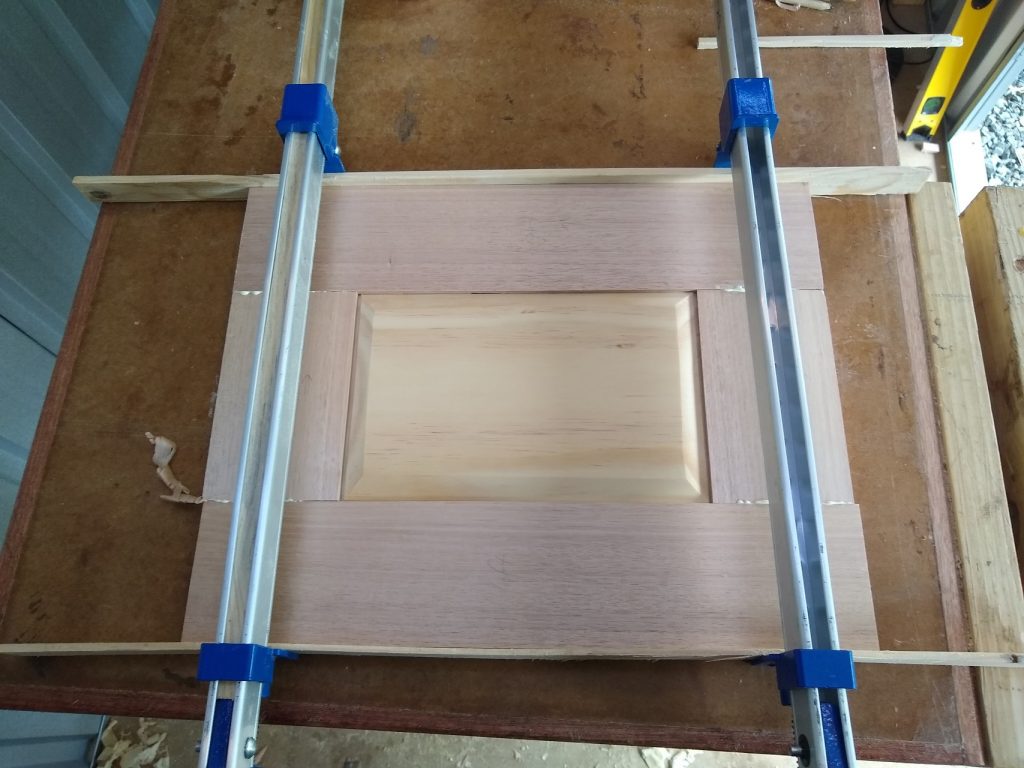
Door
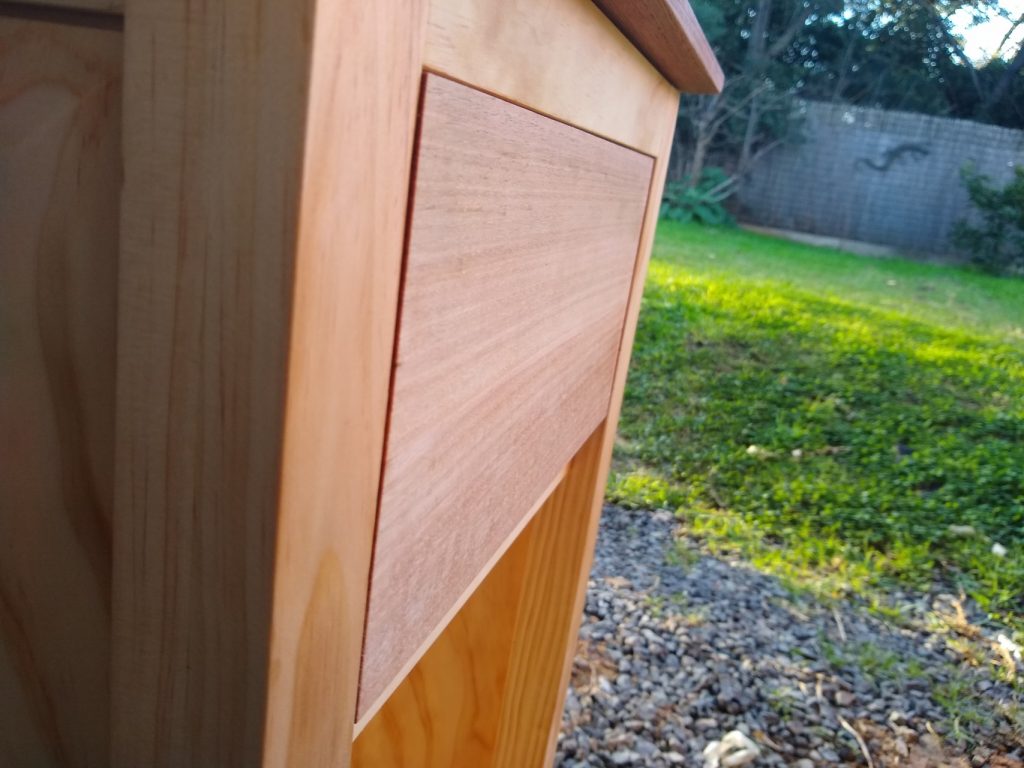
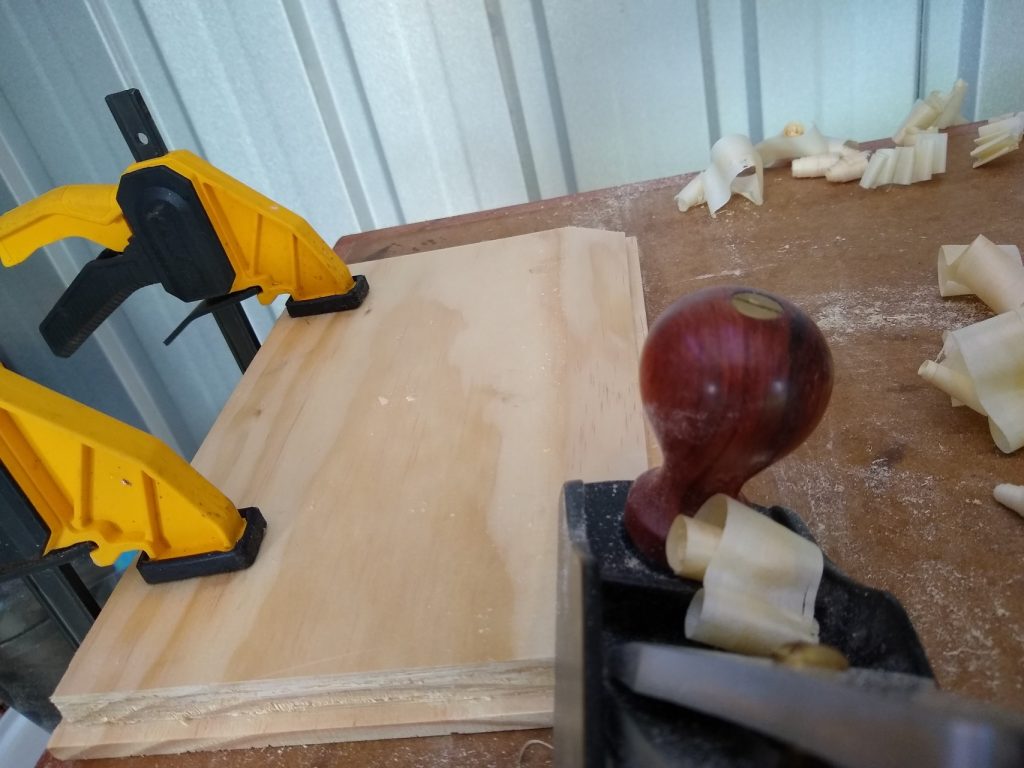
The door on the lower shelf is a frame and panel design, similar to the side panels except that the frame is made of tasmanian oak to match the top and drawer front, and the panel is pine for contrast. The frame is mortise/tenon again, and the panel is tongue/groove with a bevel on the front. In this case, I don’t want the panel to protrude from the frame, so I had to plane off the front of the panel until it was flush with the frame.
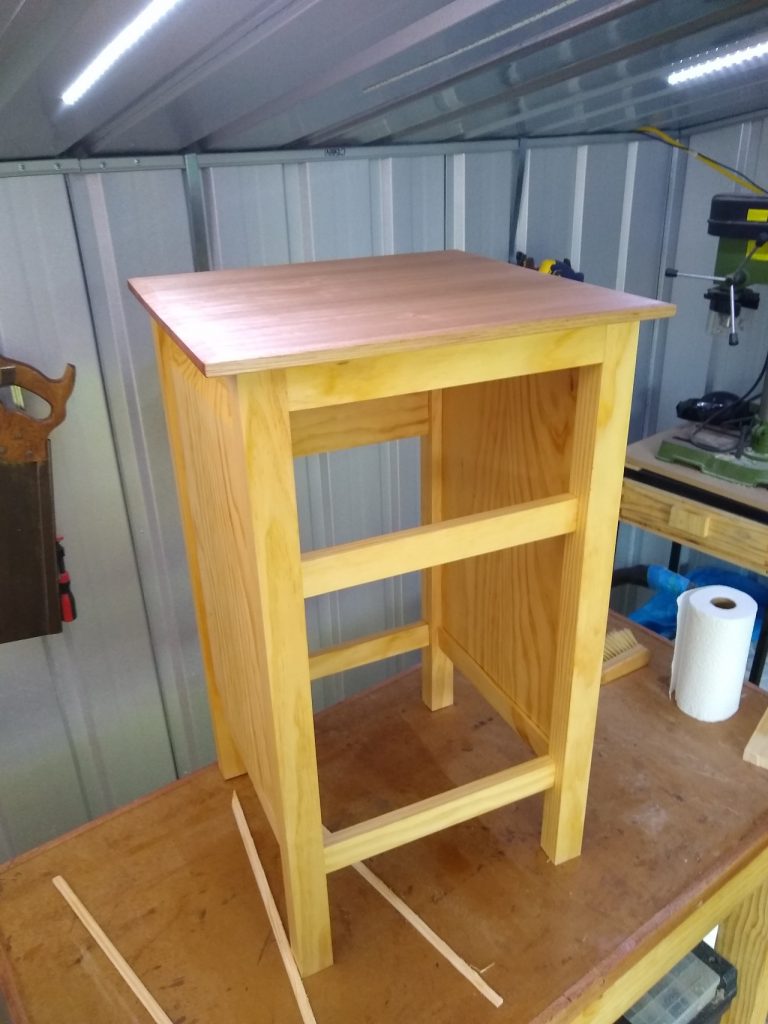
Final Assembly
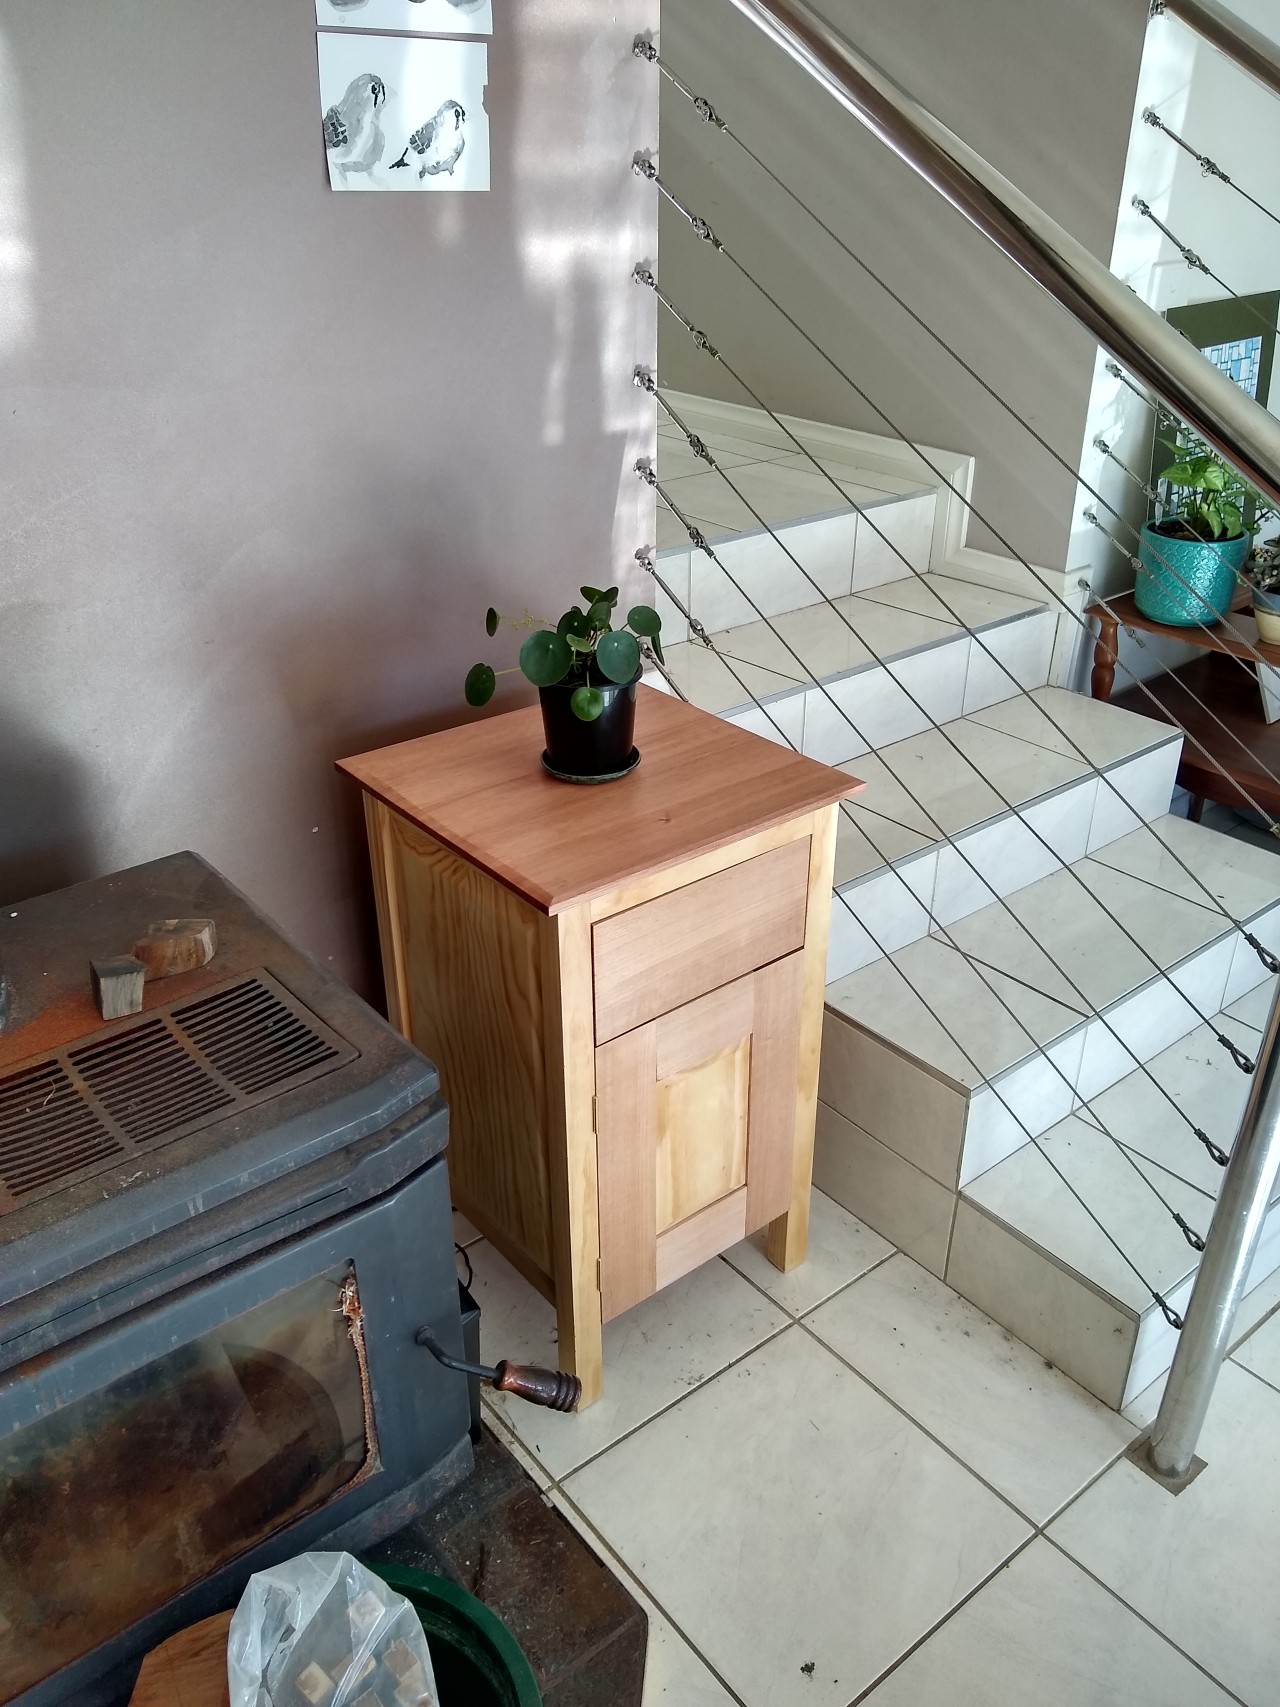
With the door complete, it was attached with some brass flush mount hinges and the entire piece was finished with a coat of boiled linseed oil and cabinet makers wax. The only remaining step is to fit some handles to the drawer and the door - I’m not sure what style I’m looking for yet, so for now it will have to wait.
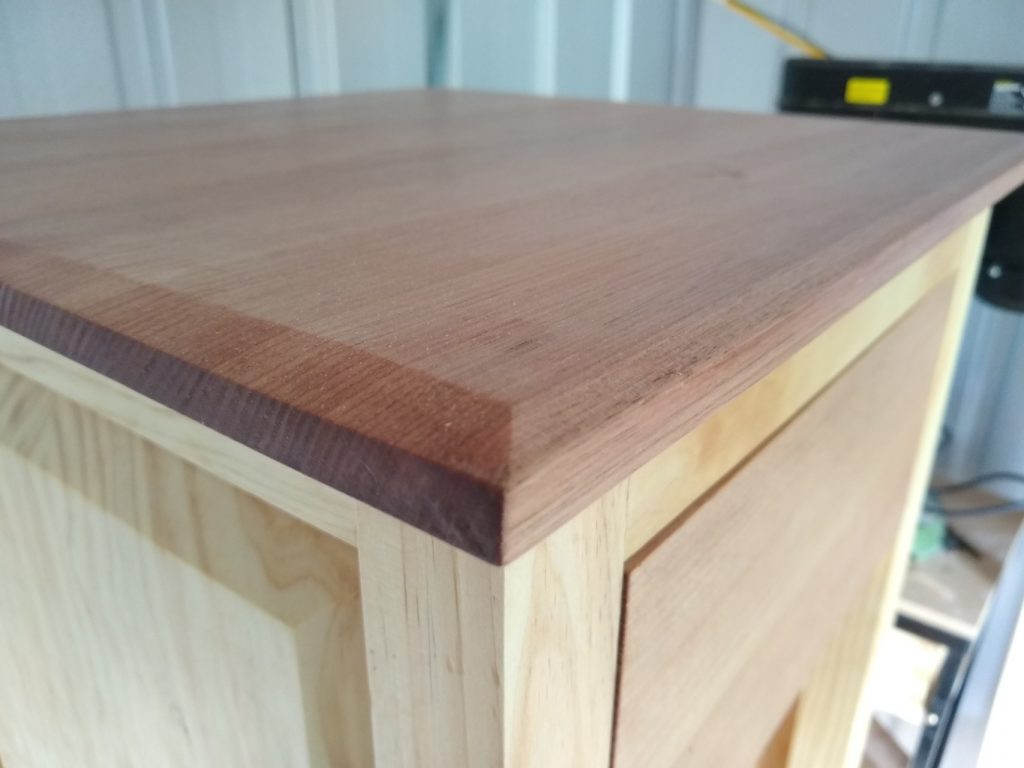
Overall, I am quite happy with how it has turned out. I particularly like the look of the tasmanian oak with boiled linseed oil. It changes colour depending on the angle of the light, as can be seen in the picture below, sometimes very light almost like the pine, sometimes dark reddish brown and sometimes a slightly pink colour. Time will tell how well the joinery holds up over the years, which is the real test of the work.