After returning from a trip to the maker faire in San Francisco last year I felt like I needed to get involved and buy myself a 3D printer. After some research I settled on the printrbot simple metal. It seems like a solid mid-entry level printer which is easy to get started with and with fairly good support. I went with the kit form with the heated stage option which costs US$749. All up including shipping it ended up costing me about $1100AUD delivered.
Build and initial testing
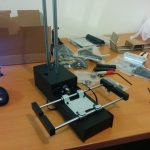
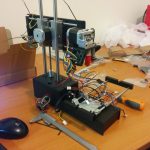
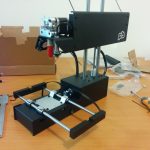
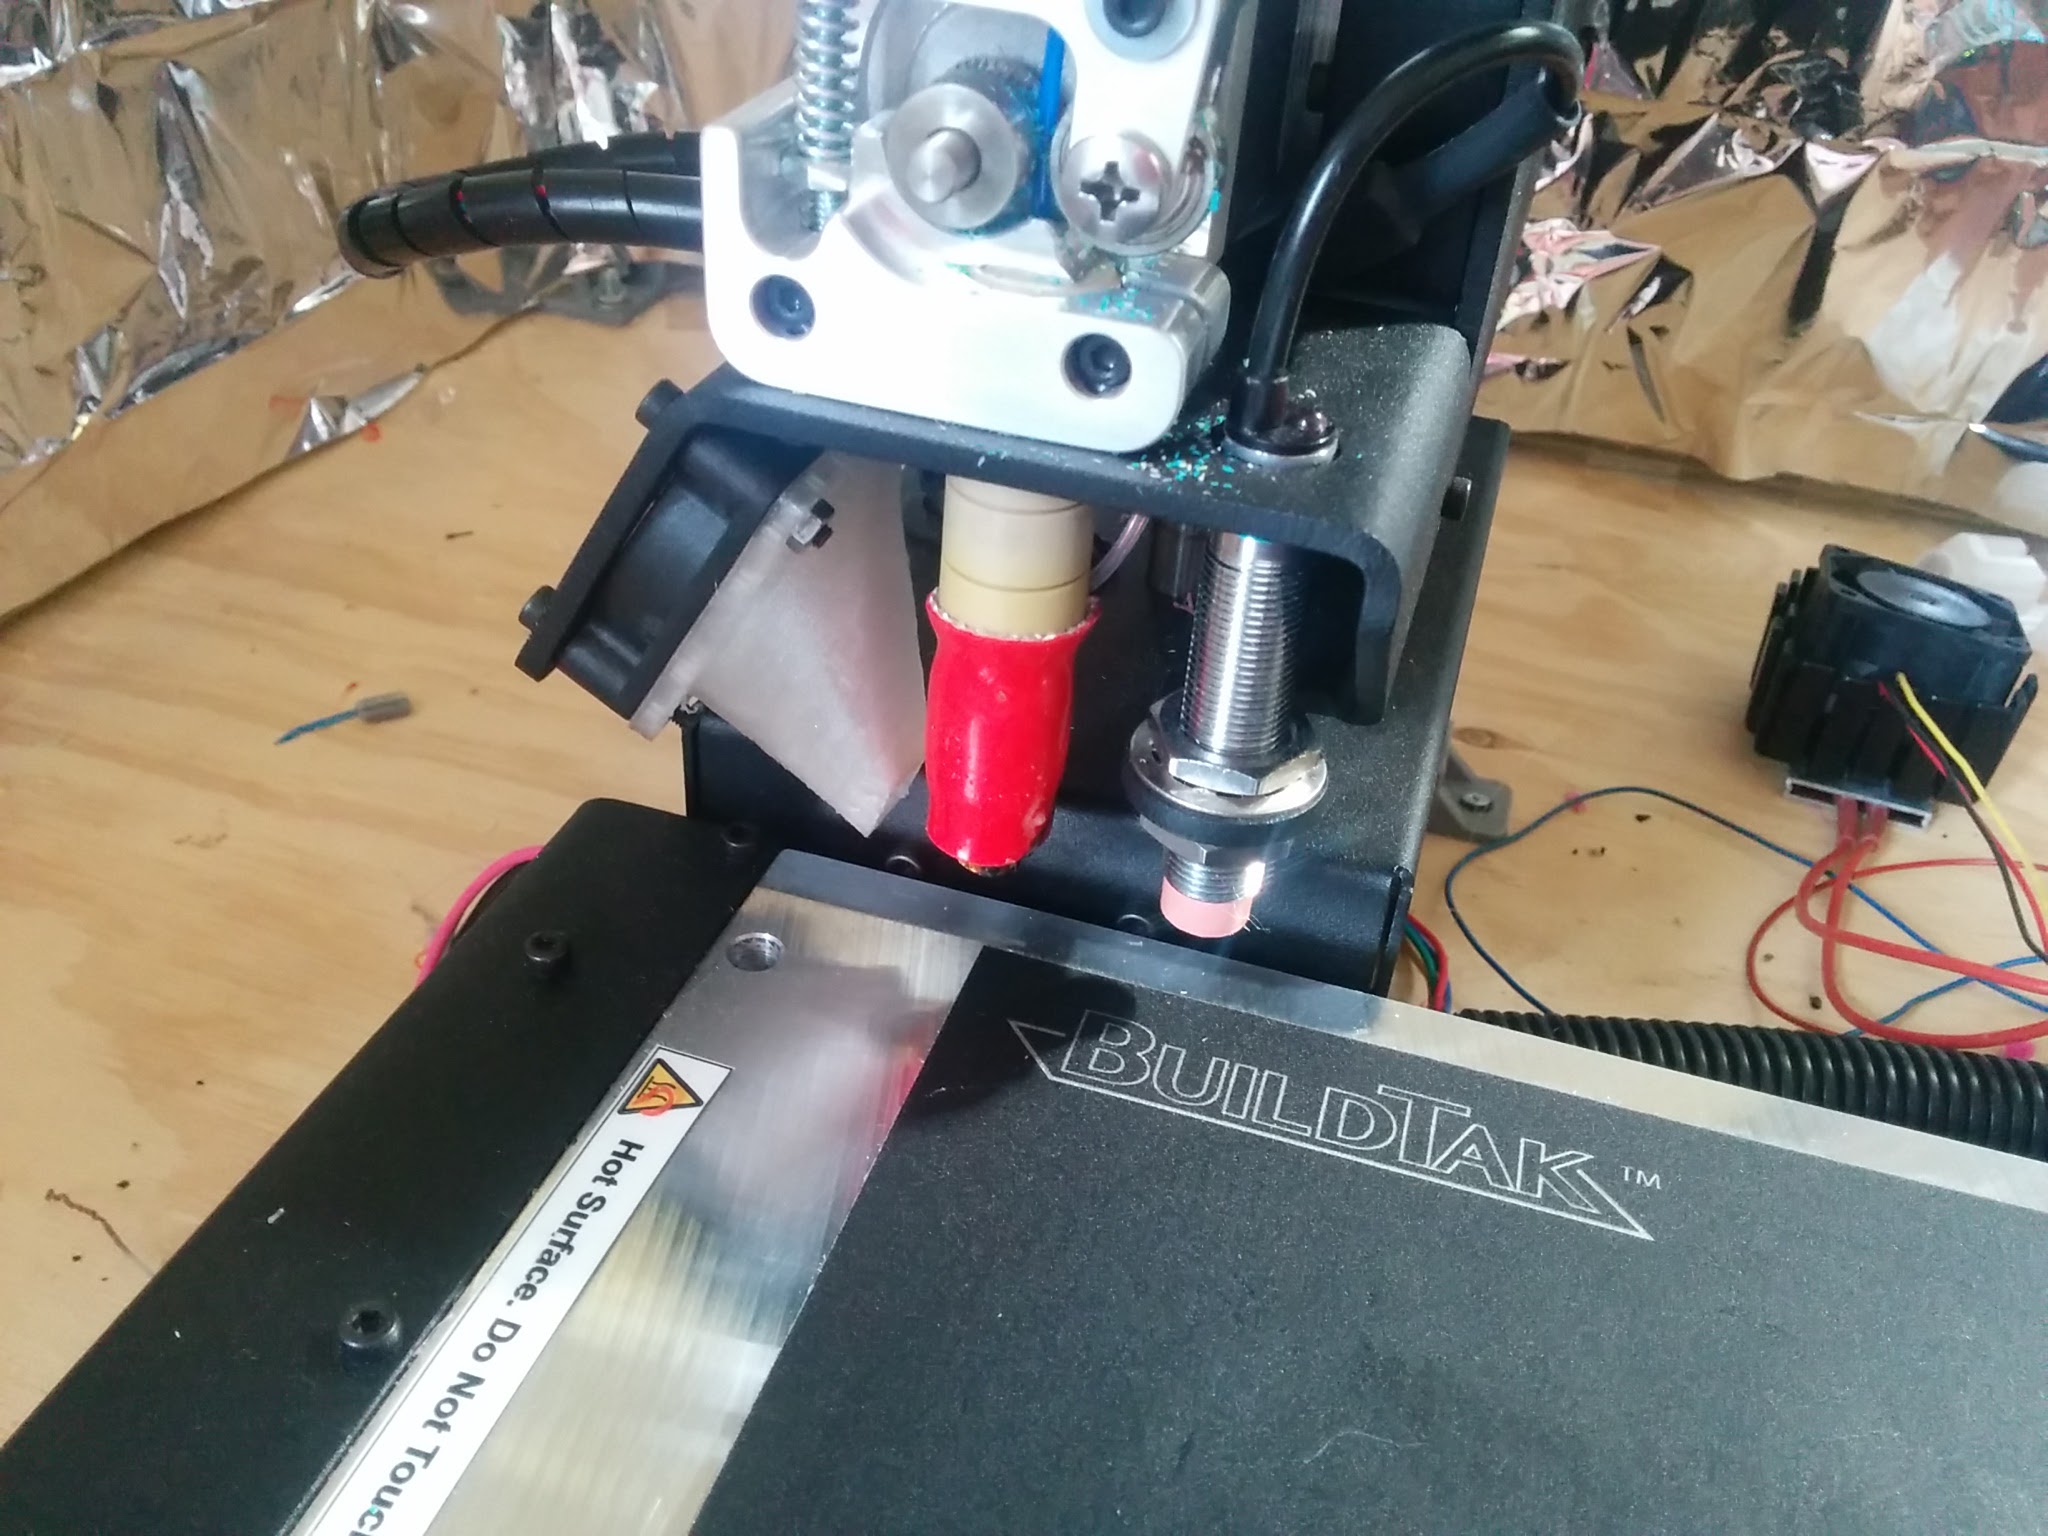
The build went very smoothly and took about 3 hours – it is fairly simple and the instructions are detailed and easy to follow. After the build, the next step was to calibrate the auto bed levelling probe. This is an inductive sensor which is attached next to the extruder and which triggers when it is within a certain fixed distance (a few mm) of the metal bed. The calibration is needed to set the offset between the height when the inductive sensor triggers and the height at which you want to print the first layer. This process is also relatively straightforward but quite time consuming as it takes multiple prints to optimise. This is especially true the first time because I really didn’t know what a “good” print was supposed to look like…
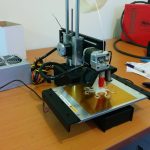
My very first print, apart from some test rectangles for the height calibration, was the octopus above, which I downloaded from thingiverse (model). It printed perfectly on the first attempt, sticking nicely to the bed. I am very impressed with how well it prints out of the box – it was trivially easy to get up and printing with PLA immediately.
Attempting some larger and more difficult prints, and especially printing with ABS revealed that things aren’t always that easy. There were issues with warping and parts lifting up from the bed during the print, and so began the typical story of spending more time working on the printer than actual printing…
Modifications
Heated enclosure
By far the most dramatic improvement has come from adding a heated enclosure around the entire printer. The problem with printing ABS is it’s large thermal expansion coefficient causing it to contract and warp as it cools. The heated stage improves things a lot, but especially for large prints you really need to heat the air as well to prevent the top of the part from cooling. Enter the heated enclosure.
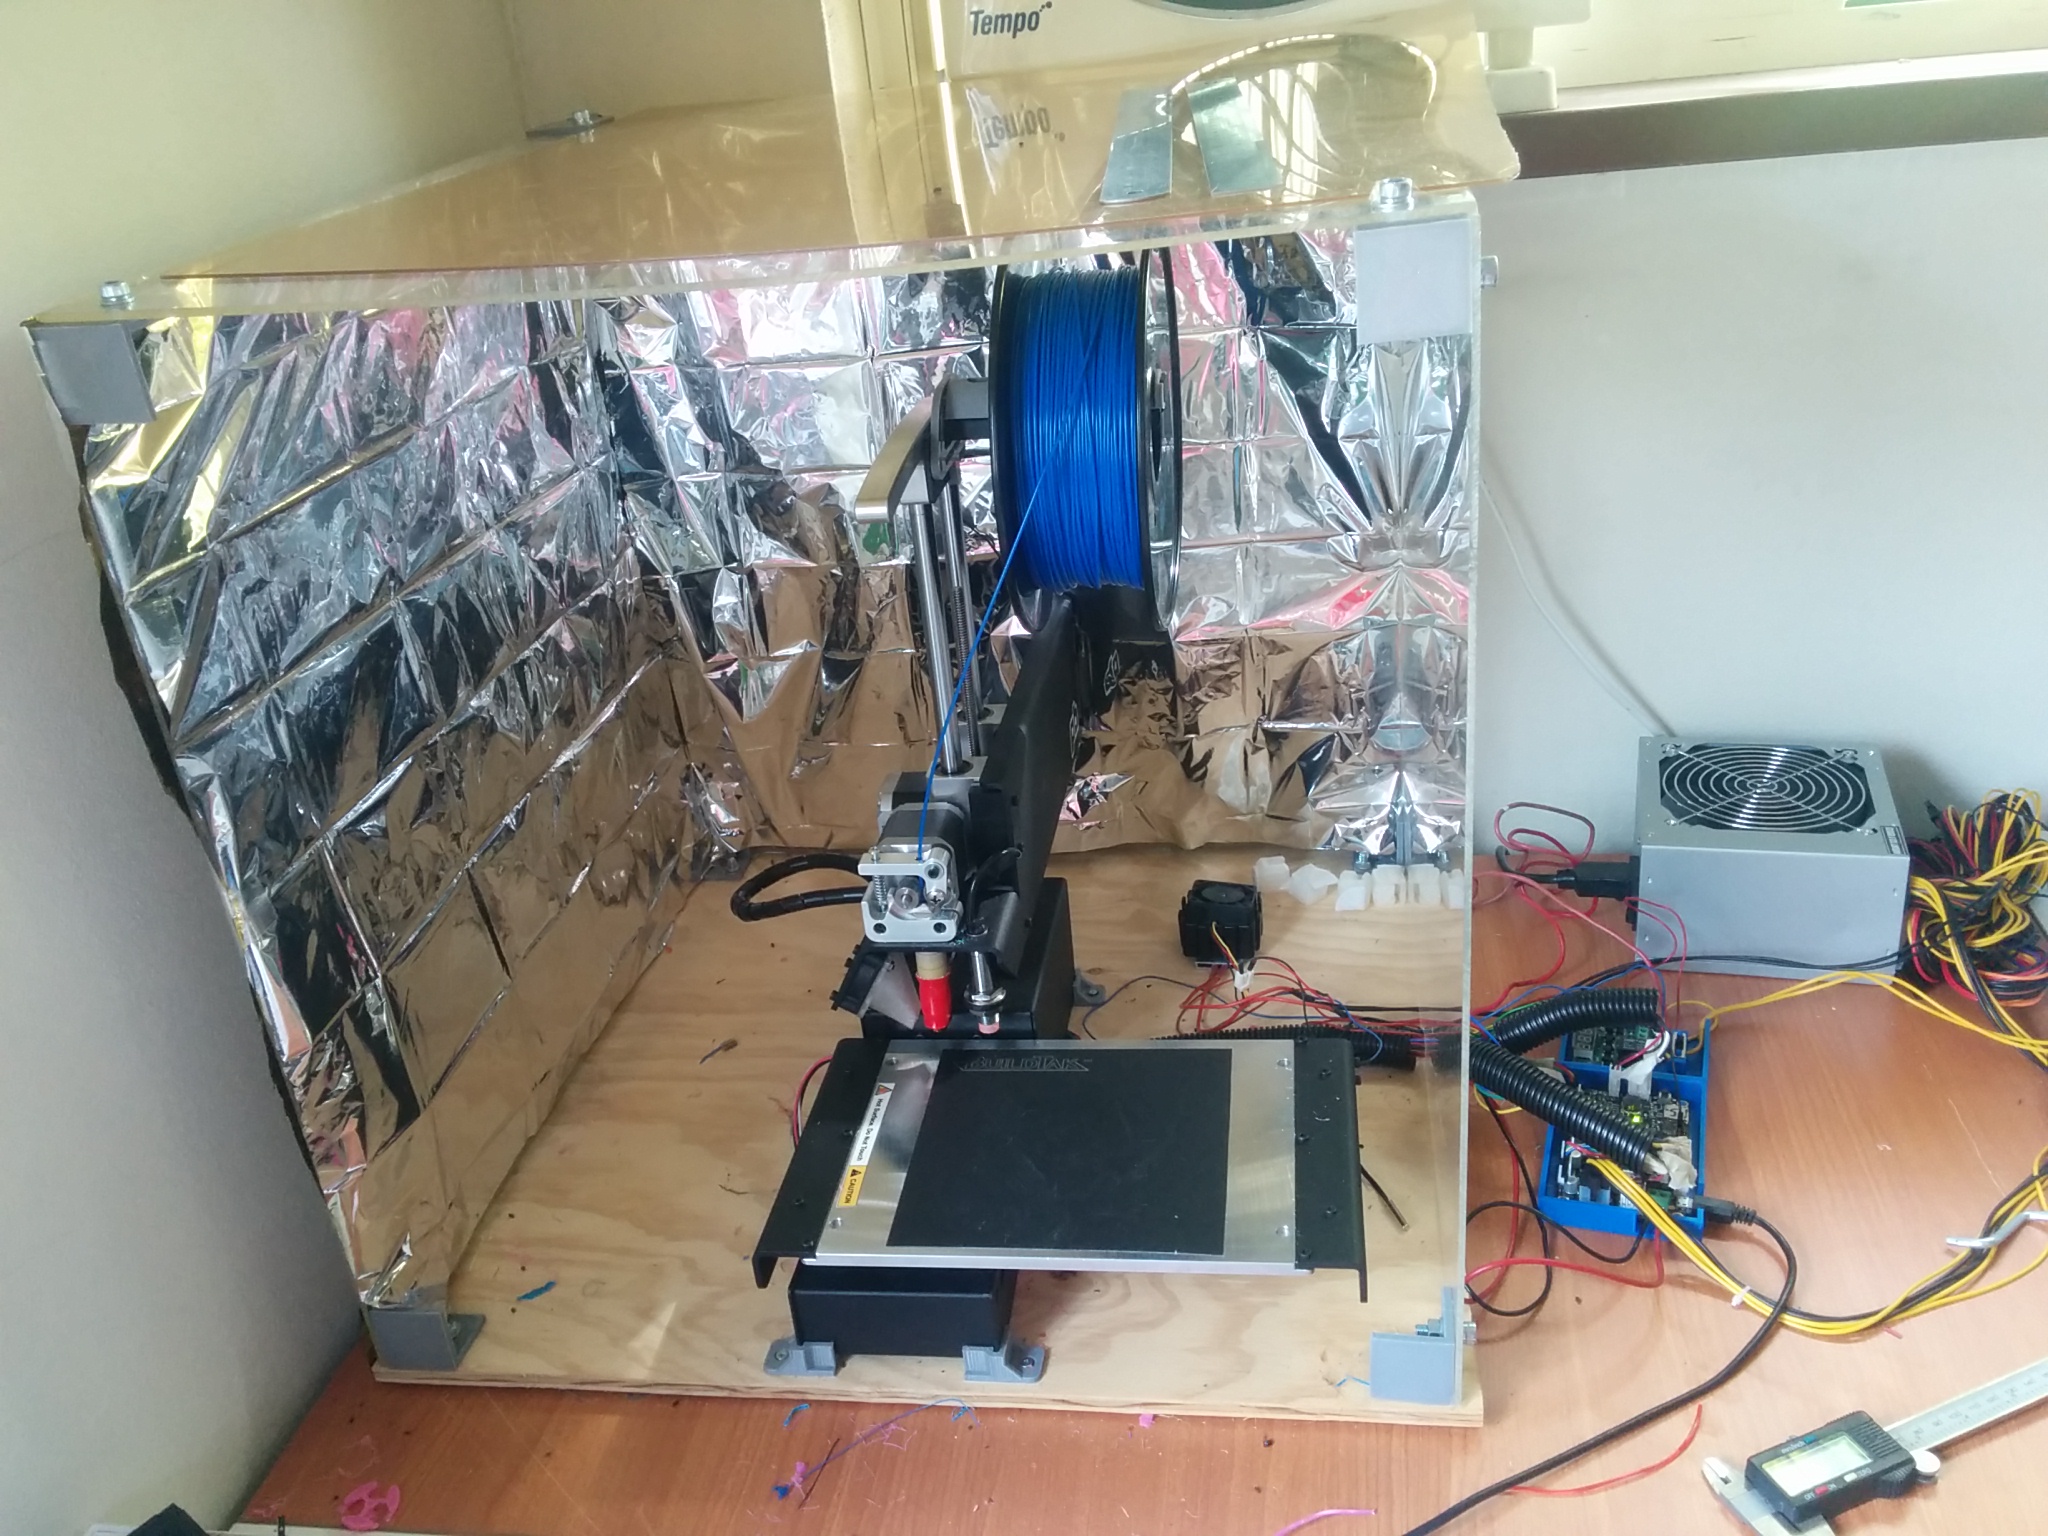
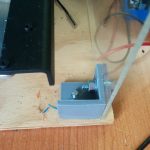
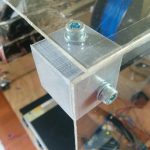
I made my enclosure from ~3mm clear perspex with a 12mm plywood base. It’s a very simple rectangular design and sized to just fit the printer. It is held together with corner brackets which I designed and printed with holes to bolt the perspex sheets to. The edges are taped to seal them, and I stuck some pieces of space blanket to the inside and outside of 2 of the rear walls to help with insulation. Ideally I would insulate all the walls, but that would defeat the purpose of using clear perspex.
The heater is an 80W PTC resistive heater which cost $5 from eBay (link). It is connected to the 12v supply from the printer power supply via a temperature controller which was another $5 eBay purchase (link). The controller is just a relay controlled by an adjustable temperature thermostat with a temperature probe which sits inside the enclosure. I attached a heatsink and fan to the heating element which turns on whenever the element is heating.
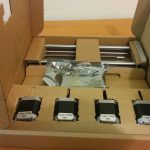
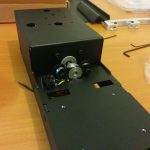
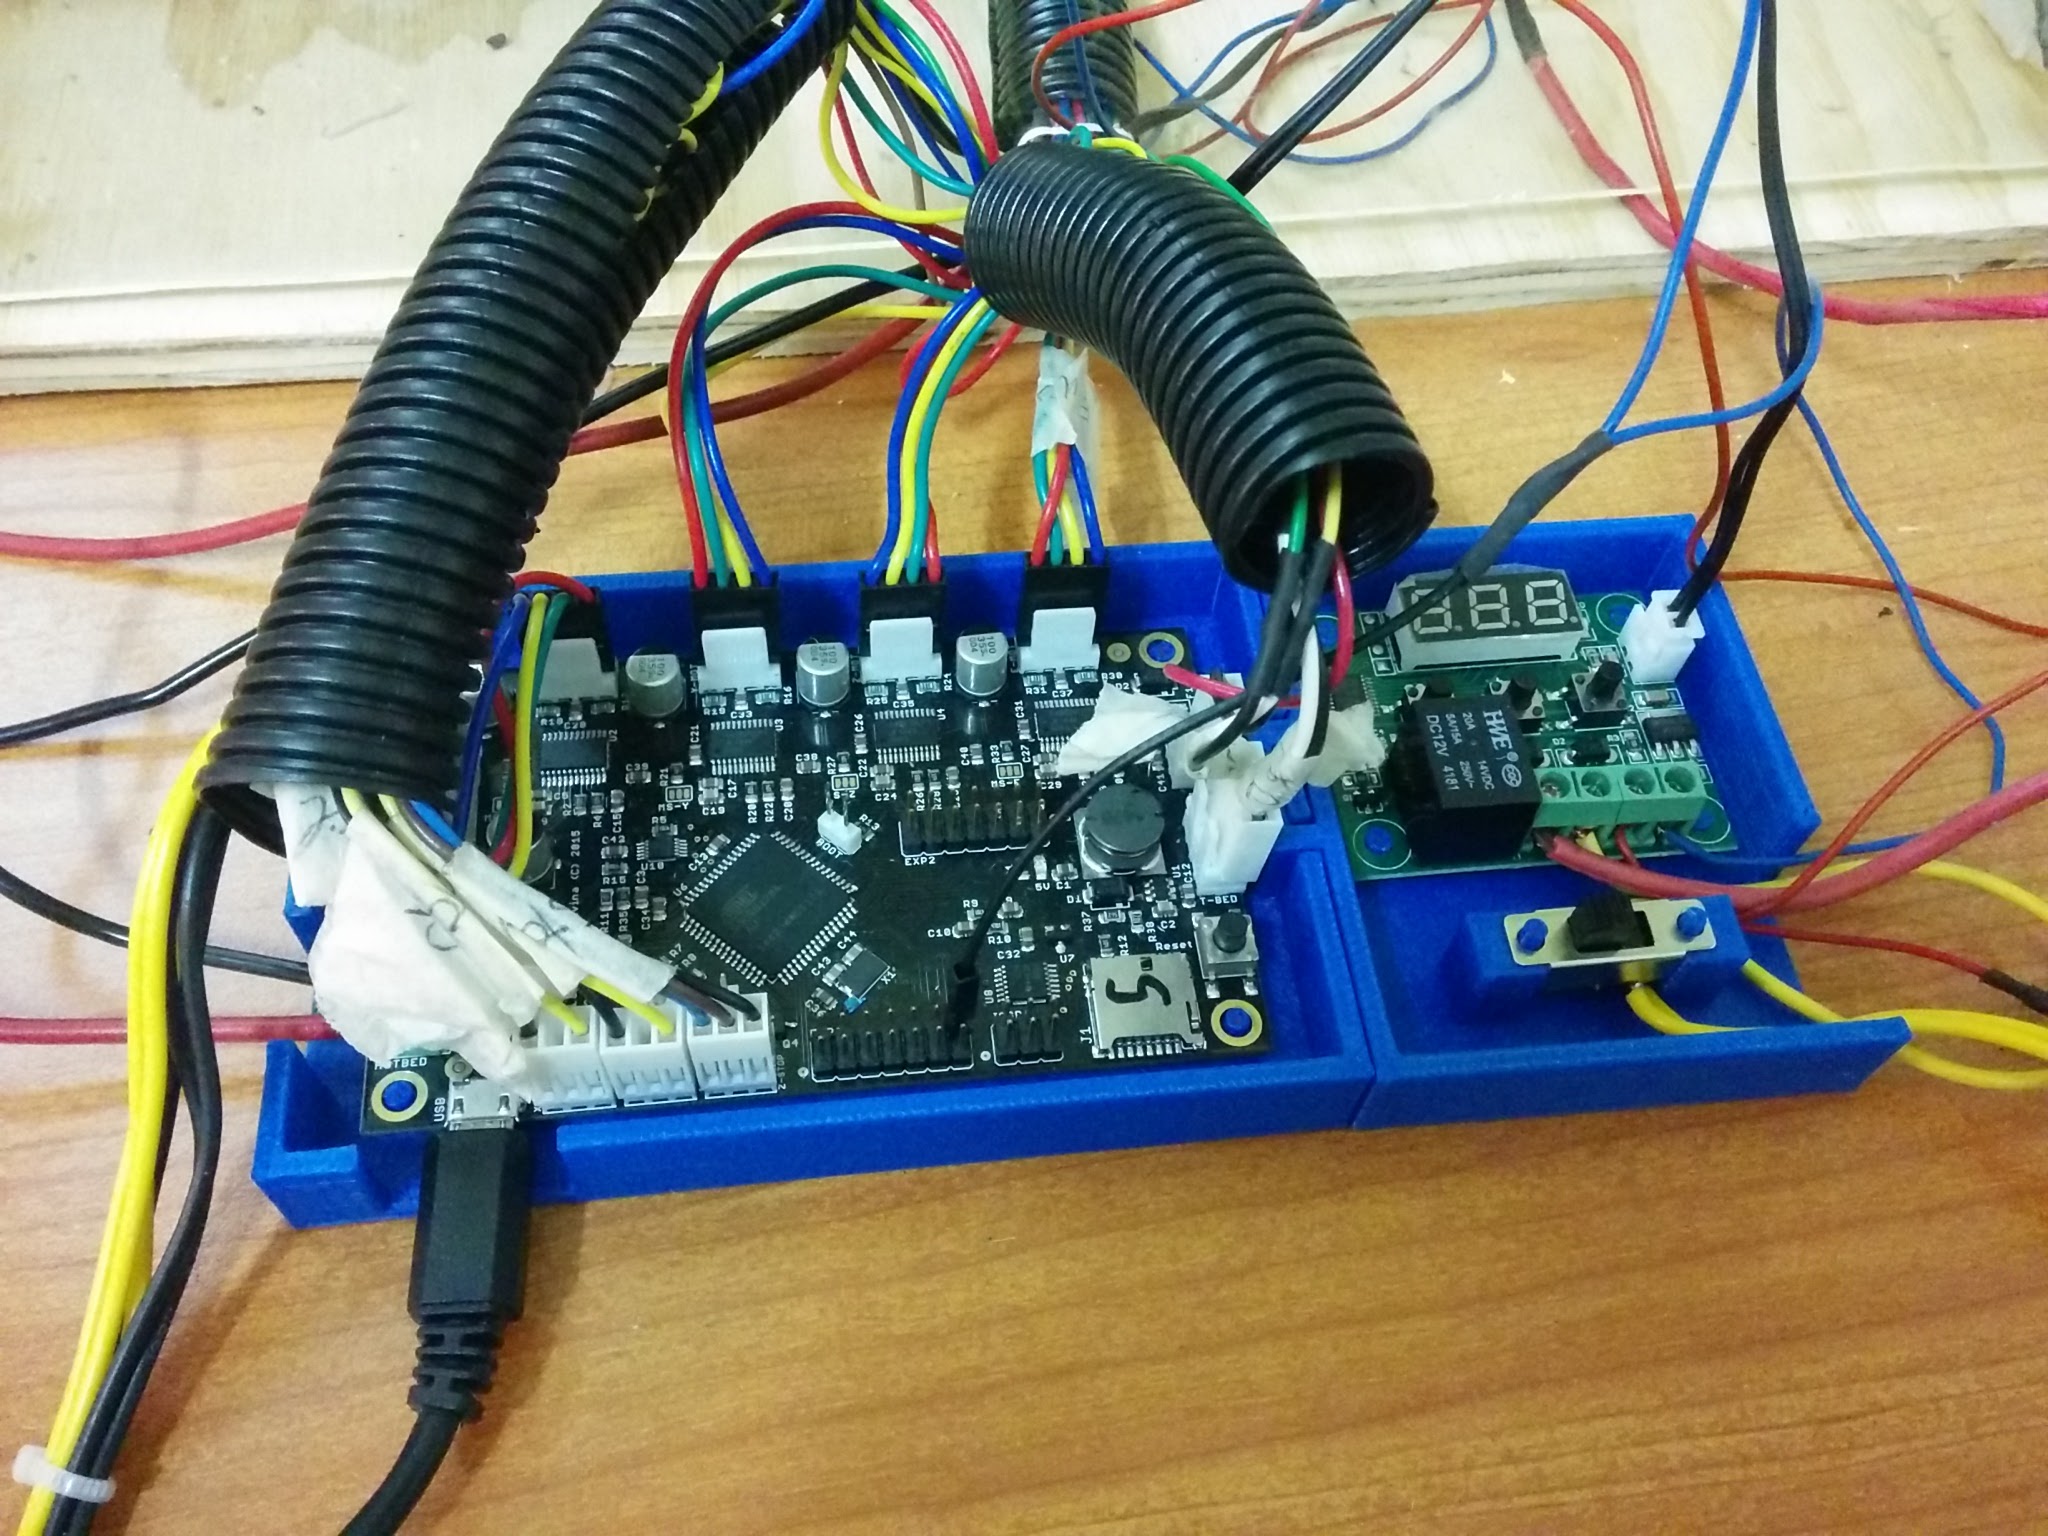
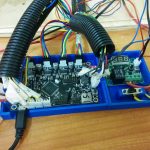
Normally all the printer control electronics live in the cavity underneath the stage. However, the heated enclosure is not great for them, so I extended all of the leads and it now lives outside the enclosure. I did a previous post on designing a case for the board in Autodesk Fusion, pictured below. It is functional, but still needs a bit more work to tidy everything up.
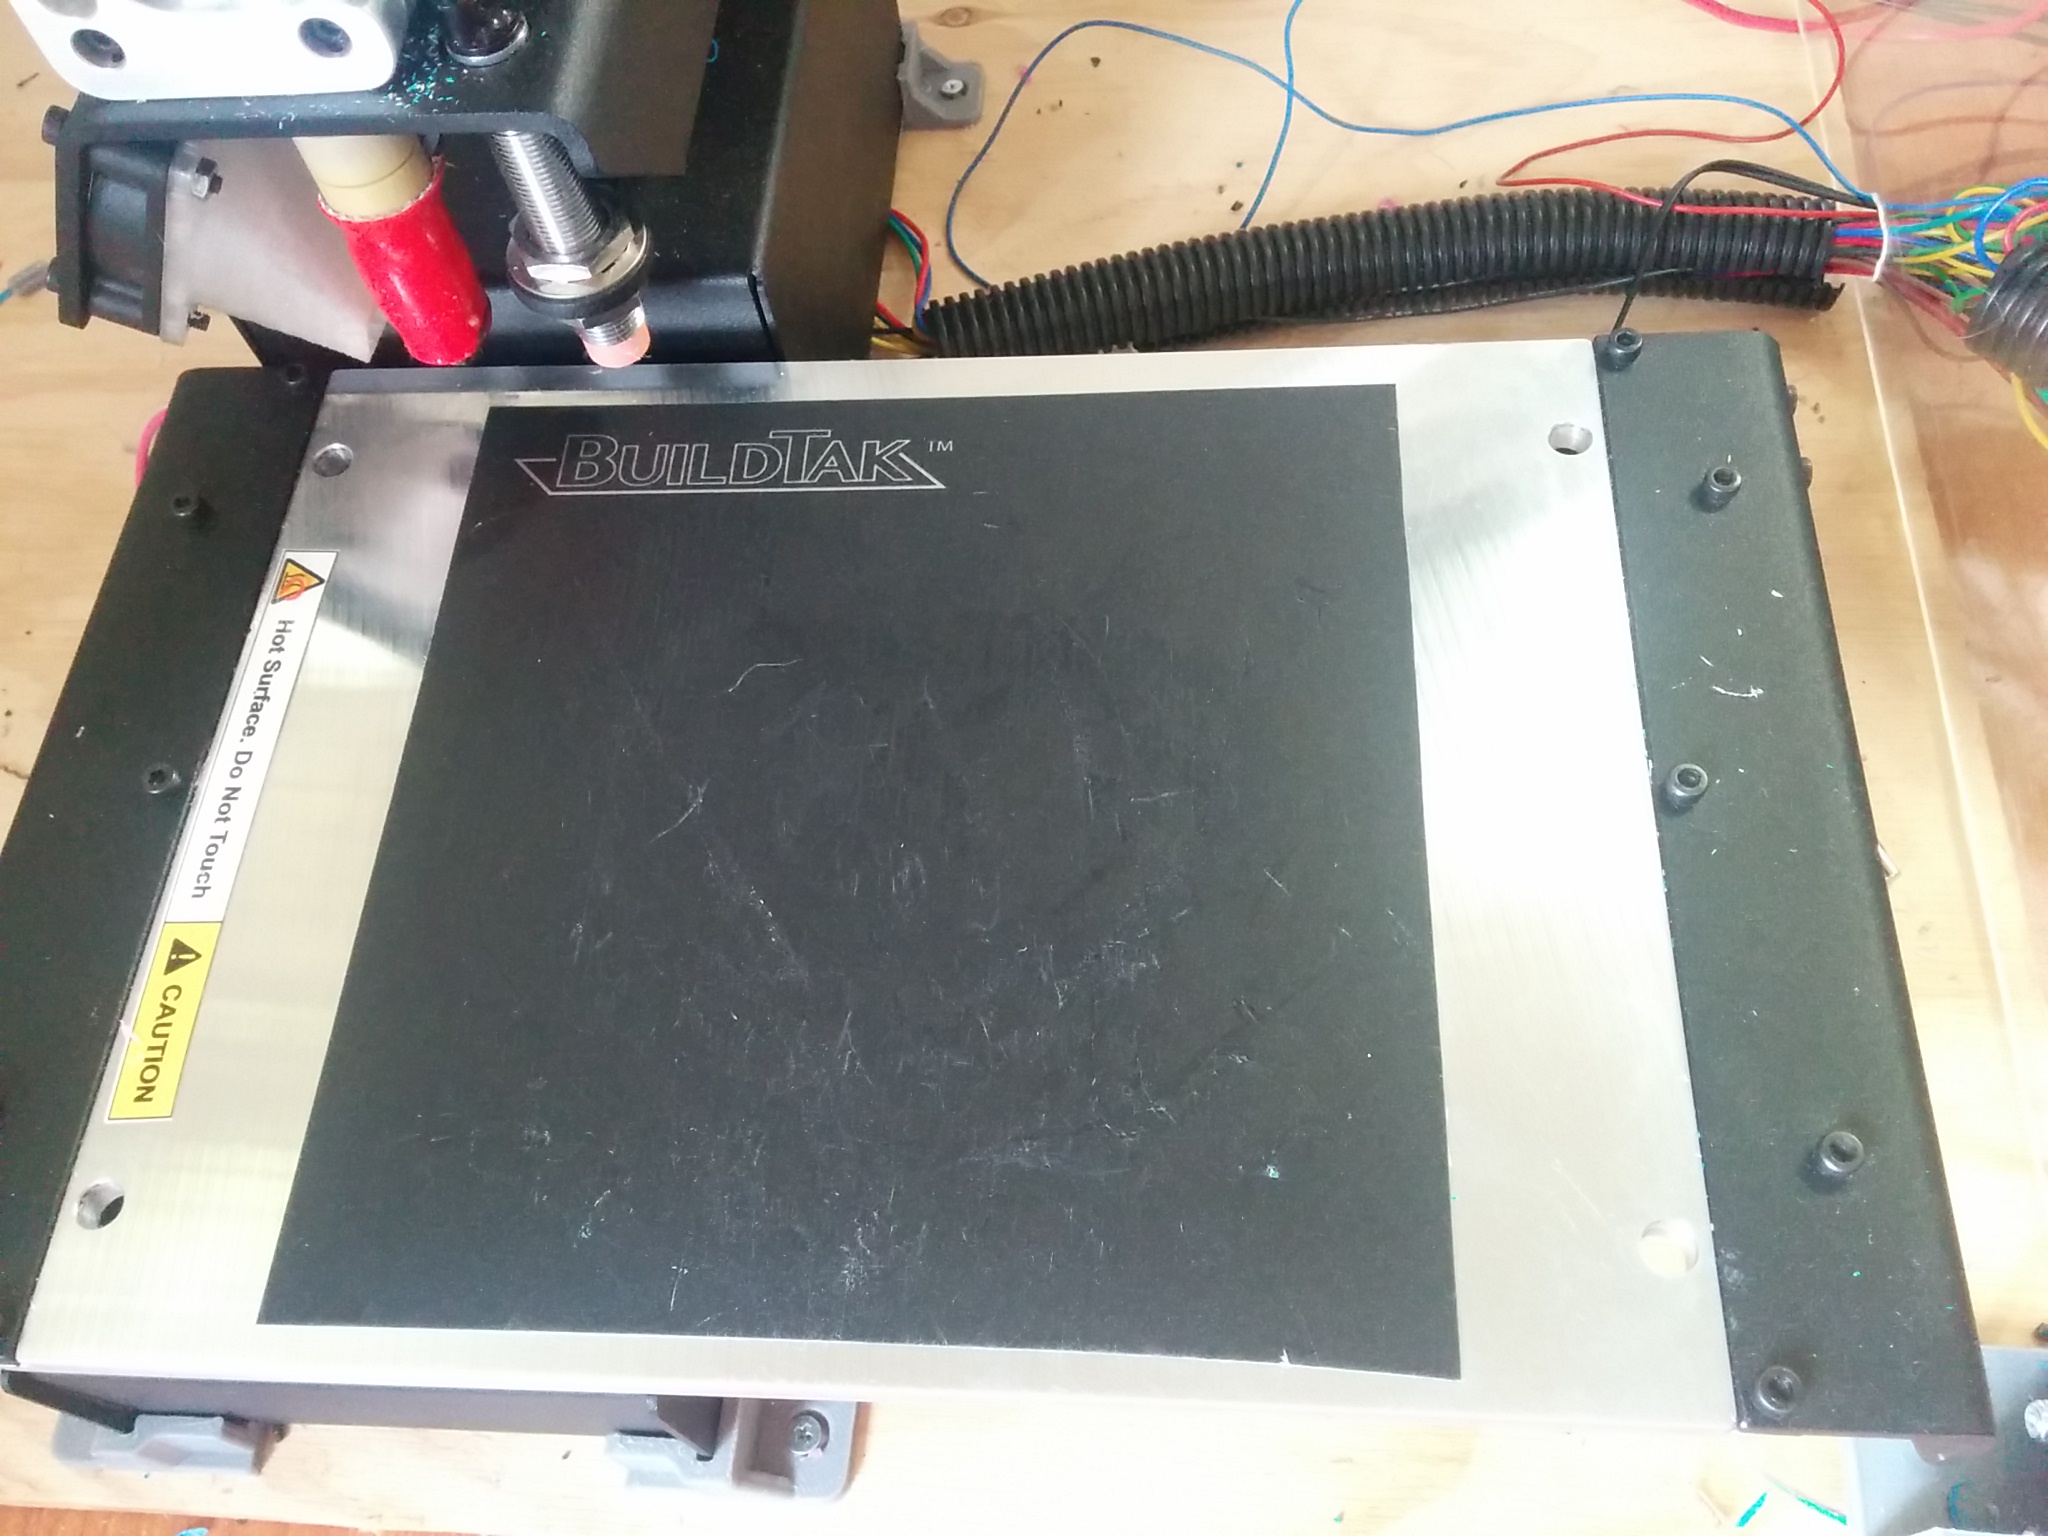
Buildtak
Buildtak is a tape which helps the prints stick to the bed. It is thick and durable (I’m still on my first piece) and it really works! I’m fact I’ve had more problems with parts sticking too well and not being able to remove them. One thing to remember is that it is significantly thicker than the kapton tape which comes with the printer so the print height has to be recalibrated. If the print height is too low (because of the thicker tape) it will be next to impossible to remove. One tip to remove stuck parts is to heat the bed, around 40 degrees for PLA and as hot as you can get it for ABS.
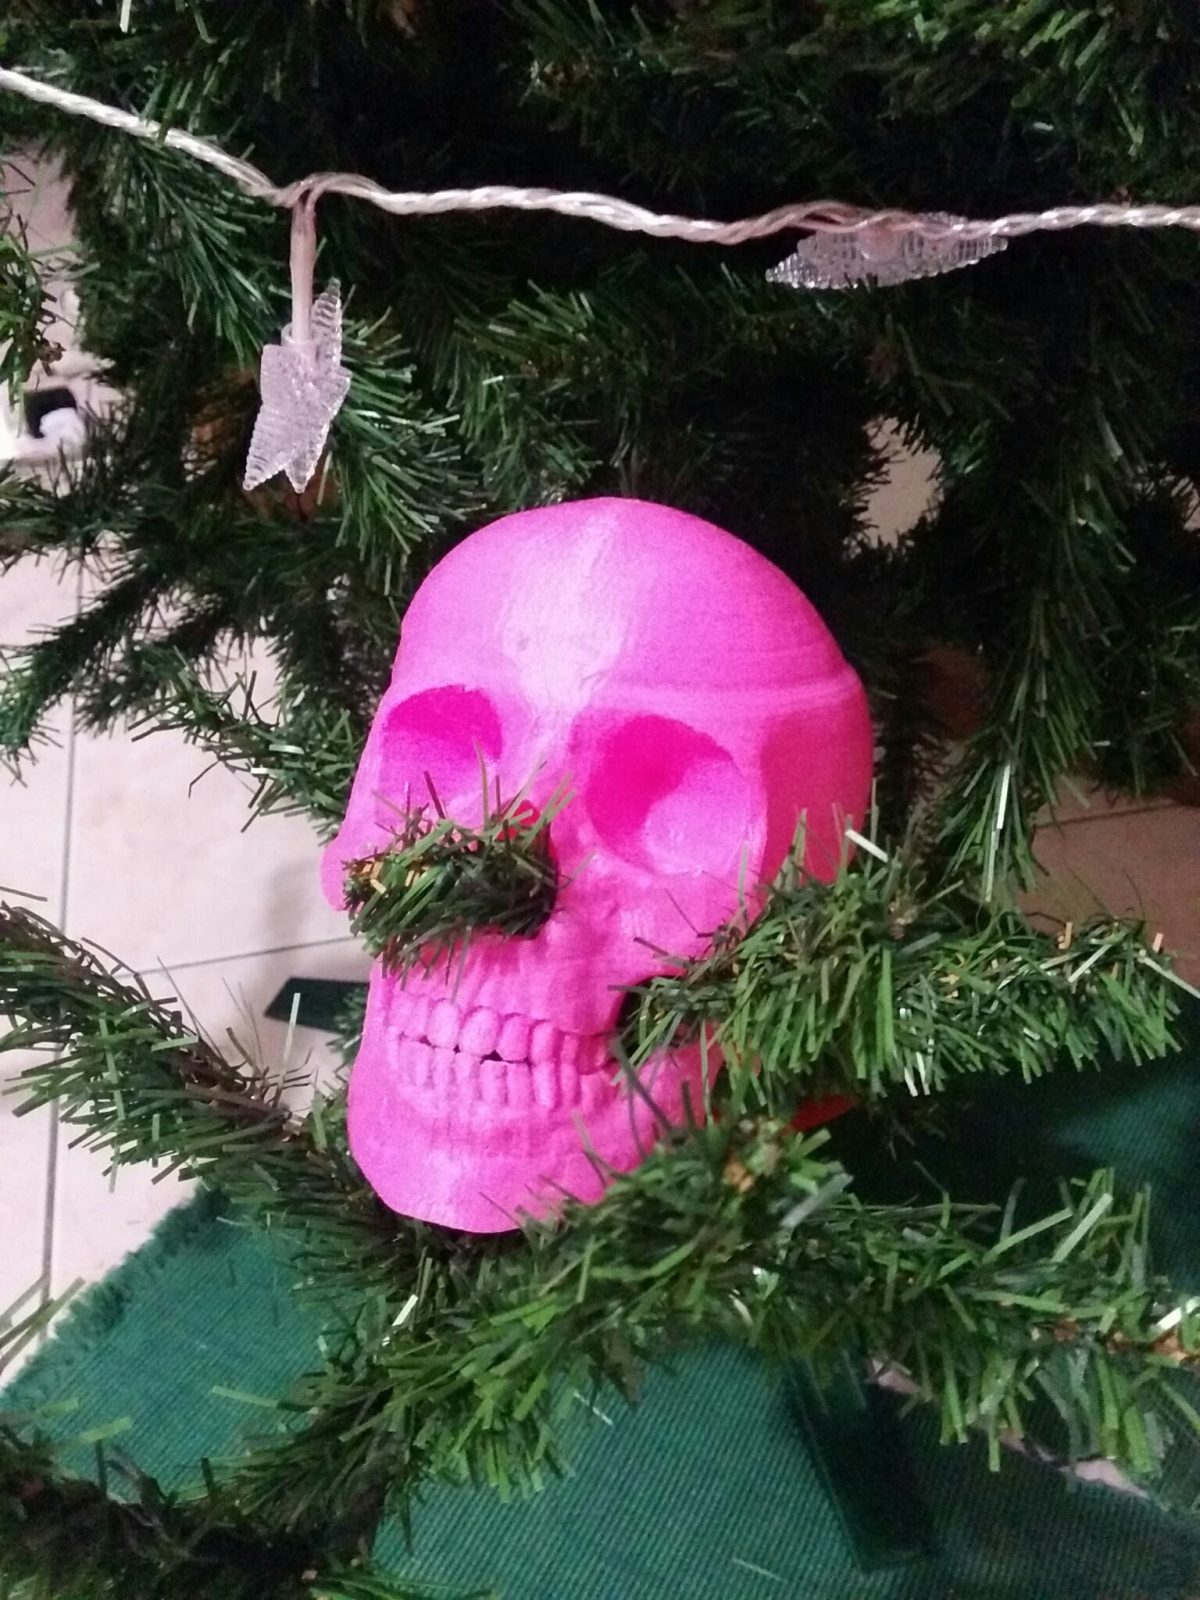
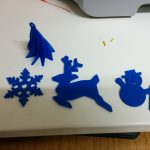
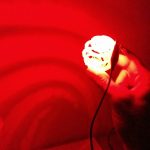
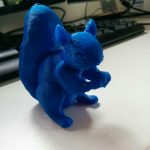
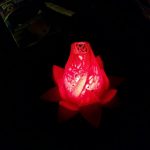
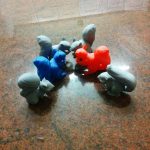
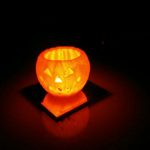
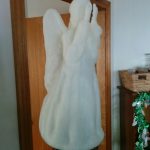
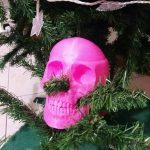
Gallery
And to finish up the post, some photos of some of the prints.


One comment